Clamp Wood Like a Pro for Unbeatable Glue Bonds
Learn how to clamp wood like a pro for unbeatable glue bonds and ensure your woodworking projects stand the test of time. Proper clamping techniques are key to achieving strong and durable joints that will withstand the rigors of daily use.
Woodworking requires precision and attention to detail, especially when it comes to creating strong and durable glue joints. Properly clamping wood during the glue-up process is crucial to ensure that the pieces adhere firmly together and that the joint remains solid over time. In this article, we will delve into the essential techniques and tips on how to clamp wood correctly for strong glue joints.
Understanding the Importance of Proper Clamping
Clamping wood during glue-ups may seem like a straightforward task, but it plays a significant role in the overall strength and longevity of the joint. When two pieces of wood are glued together, the pressure exerted by the clamps forces the mating surfaces to make intimate contact, ensuring a tight bond. Without adequate clamping pressure, gaps and weak spots in the joint can compromise its strength and durability.
Choosing the Right Clamps
Selecting the right clamps for the job is the first step in achieving strong glue joints. There are various types of clamps available, including bar clamps, parallel clamps, pipe clamps, and spring clamps. Each type has its advantages and ideal applications, so choosing the appropriate clamp for the project at hand is essential. Ensure that the clamps are in good working condition and provide sufficient pressure for the size of the joint.
Proper Preparation Before Clamping
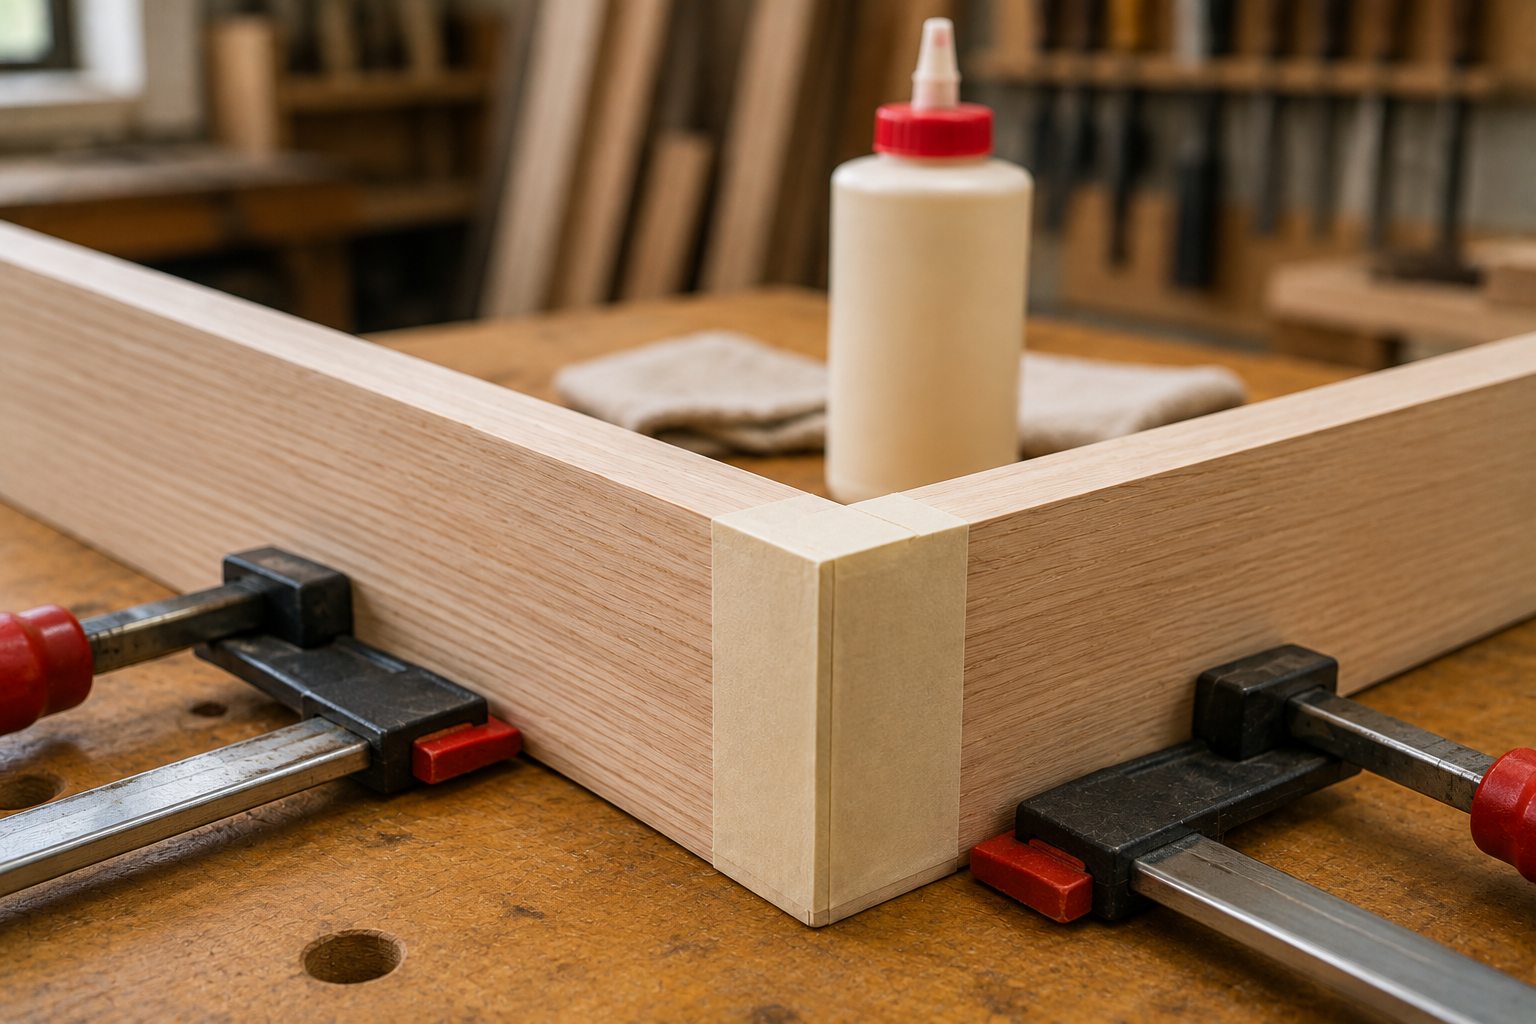
Before applying glue and clamping the wood pieces together, proper preparation is crucial. Ensure that the mating surfaces are clean, flat, and free of dust or debris. Applying a thin, even coat of wood glue to both surfaces helps create a strong bond. Additionally, dry-fitting the pieces before applying glue allows you to check the alignment and make any necessary adjustments.
Applying Even Pressure
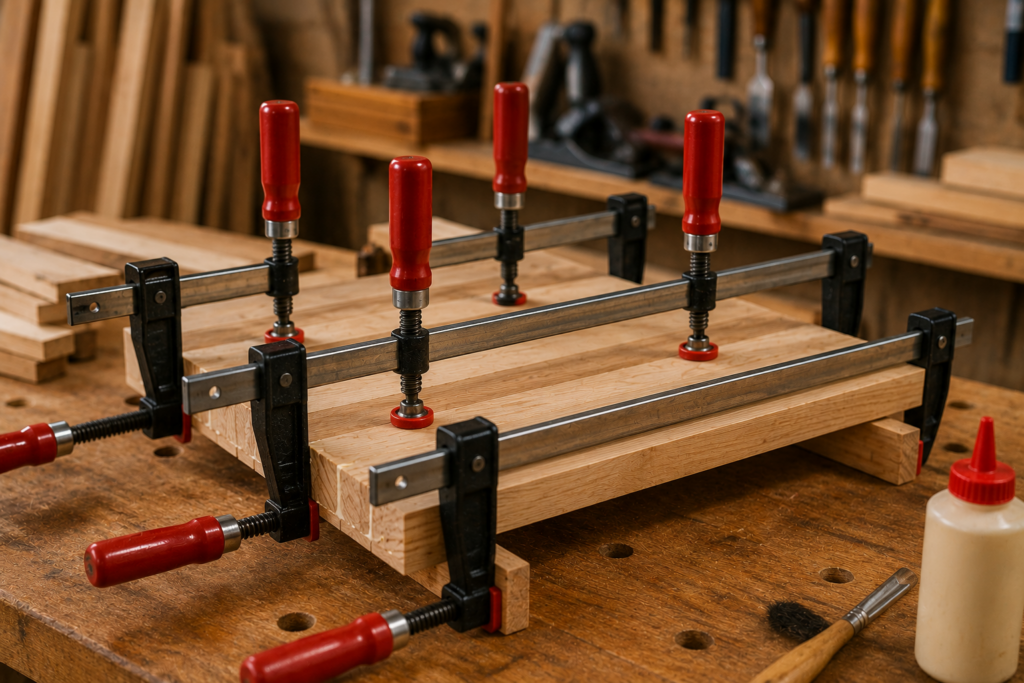
Even pressure along the entire length of the glue joint is essential for a strong bond. When clamping the wood pieces together, distribute the pressure evenly to avoid uneven glue lines or gaps in the joint. Use the appropriate number of clamps based on the size and complexity of the joint, ensuring that the clamps are positioned strategically to exert uniform pressure.
Using Clamping Cauls
Clamping cauls are auxiliary tools that help distribute pressure evenly across the surface of the joint, preventing bowing or warping during glue-ups. These cauls are placed on the outer edges of the joint and provide additional support when clamping the pieces together. Using clamping cauls is especially beneficial when working with long or wide panels that require uniform pressure to prevent flexing.
Allowing Sufficient Drying Time
After clamping the wood pieces together, allow sufficient drying time for the glue to cure properly. Follow the manufacturer’s recommendations for drying times based on the type of wood glue used. Rushing the drying process can compromise the strength of the joint and lead to potential failures in the future. Patience is key when waiting for the glue to set and cure effectively.
Conclusion
Achieving strong glue joints in woodworking requires attention to detail, proper technique, and the use of the right tools. By understanding the importance of proper clamping, choosing the right clamps, preparing the surfaces adequately, applying even pressure, using clamping cauls, and allowing sufficient drying time, you can ensure that your wood projects have durable and long-lasting joints. Mastering the art of clamping wood correctly is essential for both novice and experienced woodworkers seeking to create high-quality and sturdy pieces.