Wooden Jon Boat Building Made Effortless: Best Tips & Tricks
Building your own wooden Jon boat is an exciting journey of creativity and craftsmanship. Dive into the world of wooden Jon boat building with our expert tips and tricks to bring your dream boat to life effortlessly.
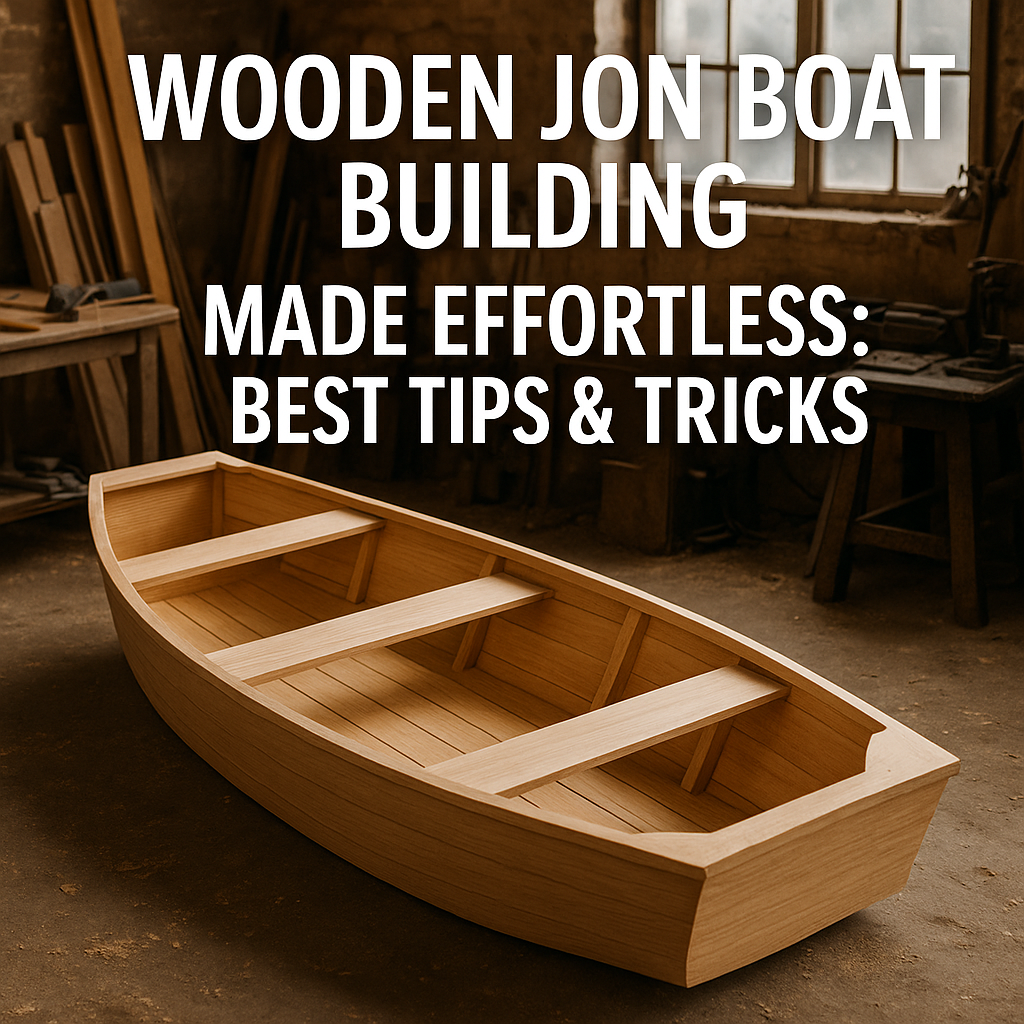
Wooden Jon boats are popular watercraft known for their simplicity, versatility, and ease of construction. Building your own wooden Jon boat can be a rewarding and fulfilling project that allows you to customize the boat to your preferences and save money compared to buying a pre-made one. In this guide, we’ll walk you through the step-by-step process of building a wooden Jon boat, from gathering the materials to launching your finished creation on the water.
Choosing the Right Materials
The first step in building a wooden Jon boat is selecting the right materials. You will need marine-grade plywood, which is durable and water-resistant, as well as wood for the frame and other structural components. Additionally, you will need epoxy resin and fiberglass cloth to seal and reinforce the boat.
Designing Your Boat
Before you start cutting wood, it’s essential to have a clear design plan for your Jon boat. You can find plans online or in boat-building books, or you can create your own design. Consider factors such as the boat’s size, weight capacity, and intended use when designing your boat.
Cutting and Assembling the Frame
Once you have your materials and design ready, it’s time to start cutting and assembling the frame of your wooden Jon boat. Follow the design plan carefully, making precise cuts and ensuring that all the pieces fit together snugly. Use waterproof glue and screws to secure the frame in place.
Building the Hull
The hull is the body of the boat, and it’s essential to build it correctly to ensure the boat’s stability and buoyancy. Cut the marine plywood according to the hull design, then attach the plywood panels to the frame using epoxy resin and fiberglass cloth. Make sure to seal all the seams and joints thoroughly to prevent water from leaking into the boat.
Adding Finishing Touches
Once the hull is complete, it’s time to add finishing touches to your wooden Jon boat. Sand the boat’s exterior to smooth out any rough edges or imperfections, then apply a coat of marine-grade paint or varnish to protect the wood from water damage and give your boat a polished look.
Testing and Launching Your Boat
Before taking your wooden Jon boat out on the water, it’s essential to test it for buoyancy and stability. You can do this by placing the boat in a shallow body of water and ensuring that it floats evenly and supports the weight of a person. Once you’re satisfied with the boat’s performance, it’s time to launch it on the water and enjoy the fruits of your labor.
Conclusion
Building a wooden Jon boat is a challenging yet rewarding endeavor that can provide you with a unique and personalized watercraft. By following the steps outlined in this guide, you can create a sturdy and functional boat that you can be proud of. So roll up your sleeves, gather your materials, and set sail on the adventure of building your very own wooden Jon boat.