Wooden Dinghy Building Made Effortless: Beginner’s Guide
Embark on an exciting journey as we guide you through how to build a beautiful wooden dinghy, perfect for beginners and seasoned sailors alike. Lets set sail on your crafting adventure with our step-by-step process, from selecting top-notch materials to the thrilling launch of your very own wooden dinghy.

Embark on an Exciting Journey – How to Build a Wooden Dinghy for Beginners
Dreaming of cruising along serene waters in your very own handcrafted sailboat? Building a wooden dinghy can turn your maritime dreams into reality. While this project may seem daunting, even beginners can successfully create a durable and beautiful vessel with the right guidance. In this comprehensive guide, we will take you through the step-by-step process, from selecting the materials to launching your very own wooden dinghy.
Choosing the Right Materials
The foundation of any successful boat-building project lies in selecting the right materials. For a wooden dinghy, marine-grade plywood is commonly used for its durability and ease of use. You will also need epoxy resin, fiberglass cloth, wooden planks, and marine paint. Ensure that all materials are of high quality to guarantee the longevity of your dinghy.
Designing Your Dinghy
Before starting the construction, it is crucial to have a clear design plan. You can find dinghy plans online or in boat-building books. These plans will provide you with the necessary measurements and instructions to guide you through each stage of the construction process. Make sure to study the plans thoroughly to familiarize yourself with the various components of the dinghy.
Preparing the Workspace
Setting up a dedicated workspace is essential for a smooth construction process. Choose a well-ventilated area with enough space to move around your dinghy. Have all your tools and materials organized and easily accessible. Creating a clutter-free and safe workspace will not only streamline the building process but also ensure your safety during construction.
Constructing the Hull
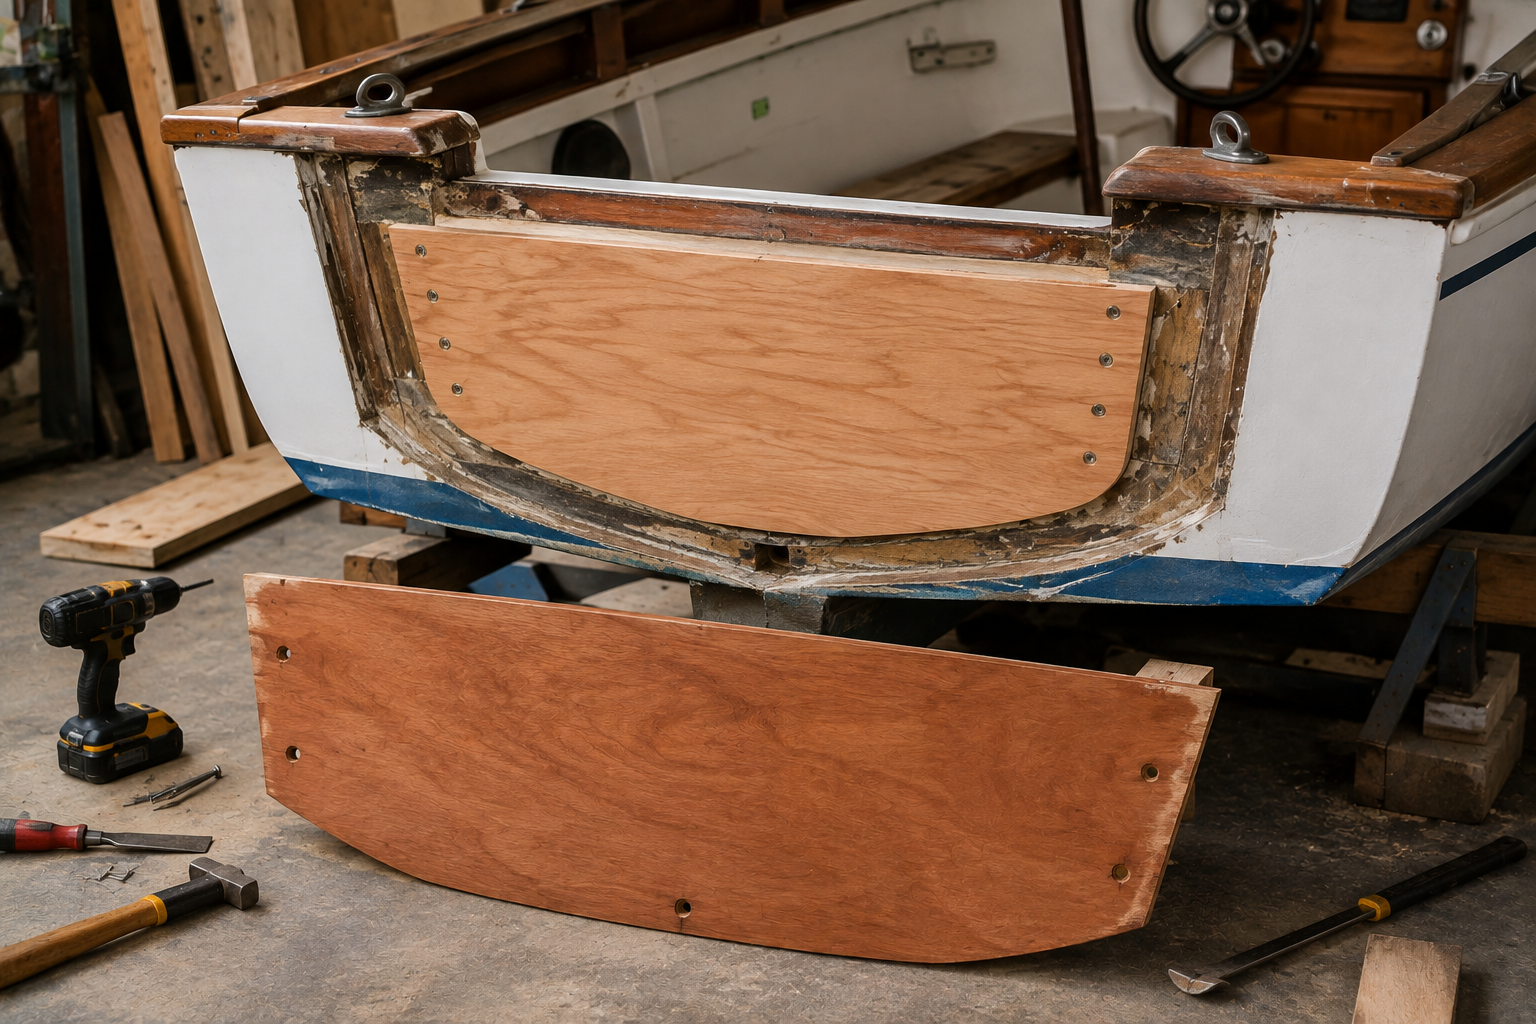
The hull is the main body of the dinghy and requires precision and attention to detail. Start by cutting the plywood according to the dimensions specified in your plans. Assemble the hull by attaching the plywood panels using epoxy resin and fiberglass cloth. Ensure that the joints are sealed properly to prevent any water leakage. Once the hull is constructed, sand it down to achieve a smooth finish.
Adding Finishing Touches
After constructing the hull, it’s time to focus on the finer details. Install the seats, oarlocks, and any other fittings according to your dinghy plans. Apply marine paint to the exterior to protect the wood and enhance its aesthetic appeal. Take your time with this step to ensure a professional-looking finish that will make your wooden dinghy stand out on the water.
Launching Your Wooden Dinghy
With the construction complete, it’s time to launch your wooden dinghy into the water. Before doing so, conduct a thorough inspection to ensure that all components are securely in place and that there are no structural issues. Once you have checked everything, gently lower your dinghy into the water and embark on your maiden voyage. Enjoy the fruits of your labor as you glide through the water in a vessel crafted with your own hands.
Conclusion
Building a wooden dinghy can be a rewarding and fulfilling experience for beginners who have a passion for craftsmanship and sailing. With the right materials, a clear plan, and dedication, you can create a sturdy and elegant vessel that will provide you with countless hours of enjoyment on the water. So, gather your tools, roll up your sleeves, and set sail on the exciting journey of building your very own wooden dinghy.