Beginner’s Guide: Build a Stunning Wooden Rowboat
Embark on an exciting journey into the world of wooden rowboat building! Follow our beginners guide to create a stunning nautical masterpiece that will sail you through serene waters with ease. Lets dive into the process of crafting your very own wooden rowboat from start to finish, step by step.
Creating Your Own Wooden Rowboat: A Beginner’s Guide to Building a Nautical Masterpiece
If you’re an aspiring boat enthusiast looking to venture into the world of watercraft creation, building a wooden rowboat can be a rewarding and fulfilling project. While it may seem daunting at first, with the right guidance and a bit of patience, you can craft your very own seaworthy vessel that will carry you across calm lakes and serene rivers. In this beginner’s guide, we’ll walk you through the steps to build a wooden rowboat from start to finish.
Planning Your Project
Before you dive into the woodworking process, it’s crucial to have a solid plan in place. Start by deciding on the size and design of your rowboat. Consider the type of water you’ll be navigating, the number of passengers it should accommodate, and any specific features you want to incorporate.
Next, gather your materials and tools. You’ll need marine-grade plywood, wood glue, epoxy resin, fiberglass cloth, sandpaper, paint or varnish, a jigsaw, clamps, and measuring tools. Having everything ready before you begin will make the construction process smoother.
Constructing the Frame
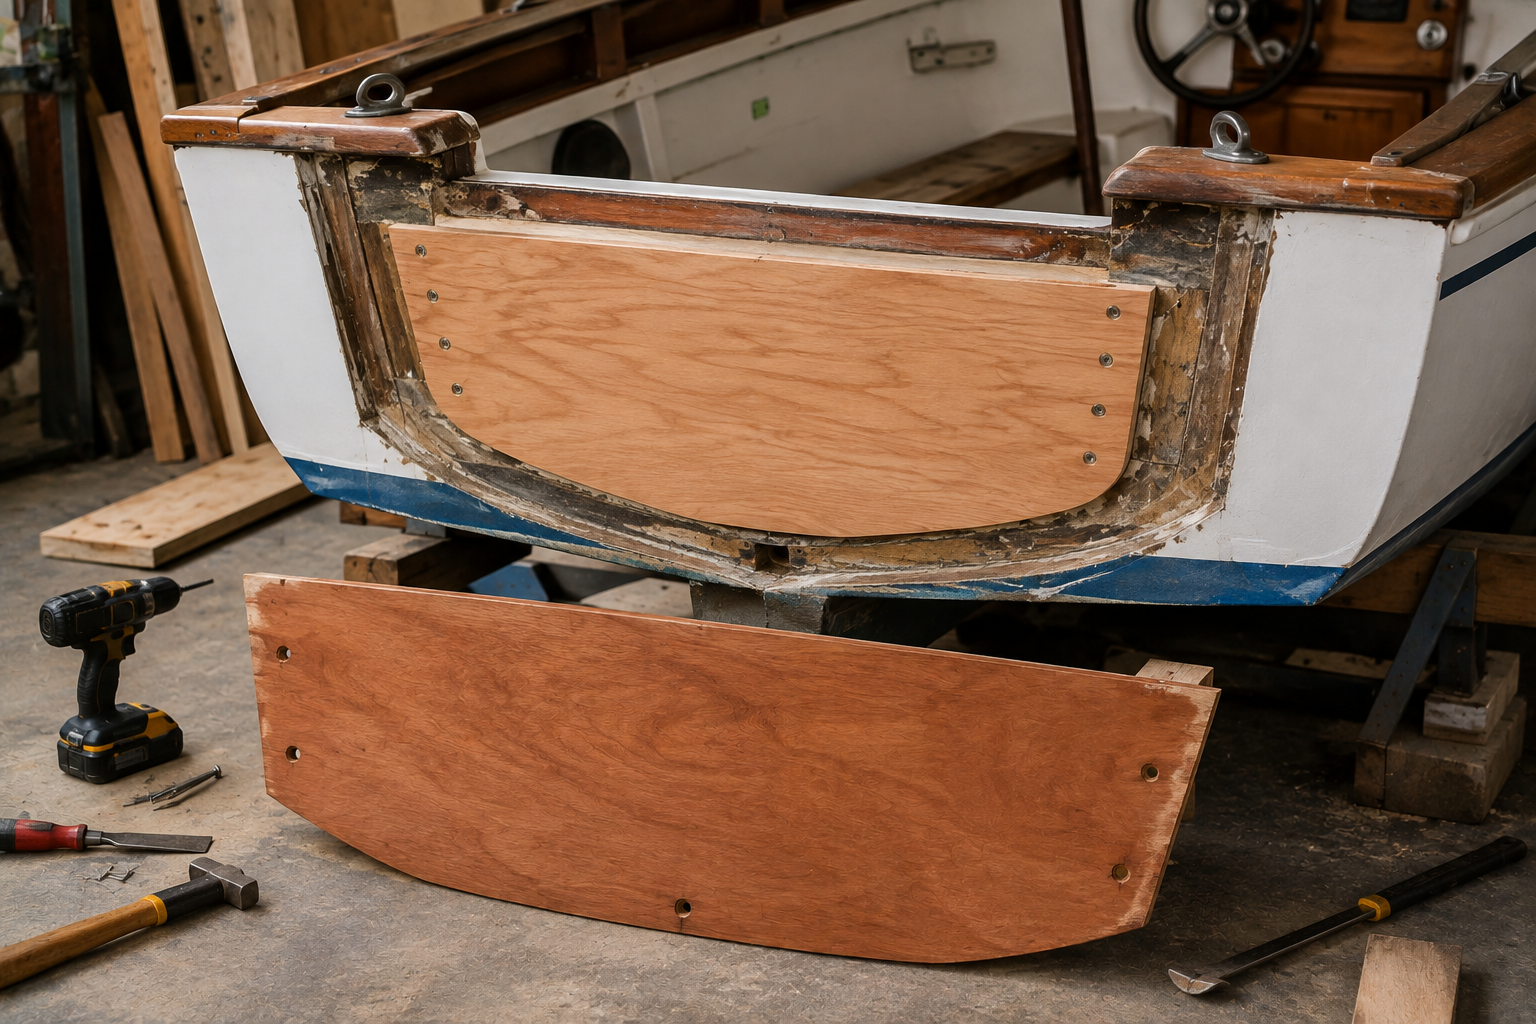
The frame of your rowboat forms the foundation of the vessel, providing structural support and shaping the overall design. Begin by cutting the plywood sheets according to your chosen boat design. Use a jigsaw to carefully shape the pieces for the sides, bottom, and transom of the boat.
Assemble the frame using wood glue and clamps to hold the pieces together while the glue dries. Ensure that the joints are secure and the frame is square to maintain the boat’s stability.
Adding the Hull
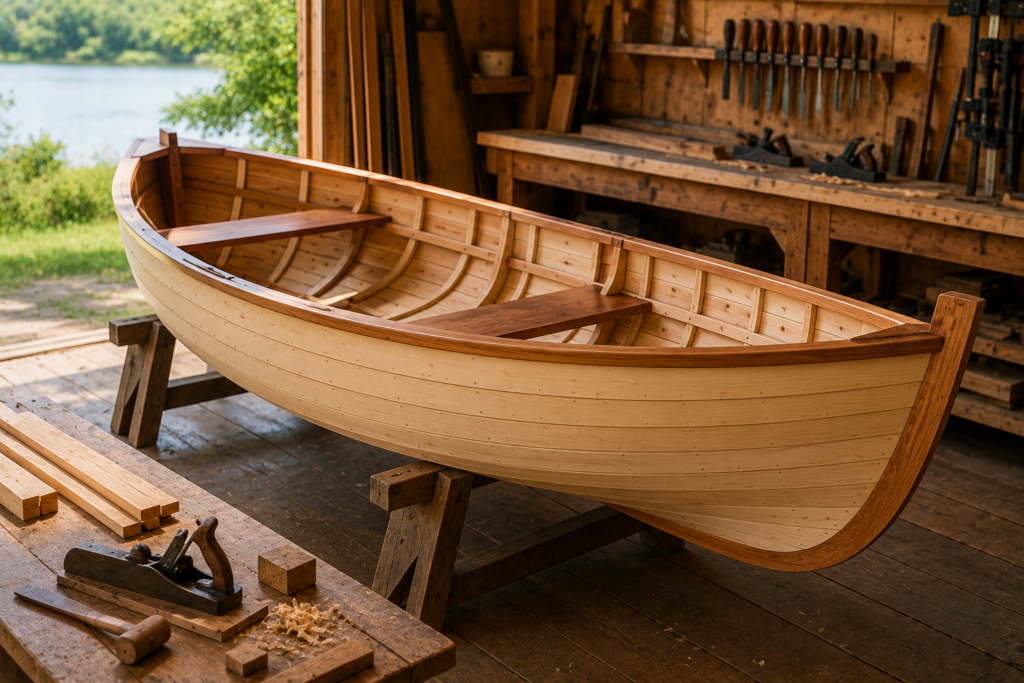
Once the frame is complete, it’s time to add the hull to your rowboat. Cut additional plywood strips to form the sides of the hull, attaching them to the frame with wood glue and screws. Reinforce the seams with fiberglass cloth and epoxy resin for added strength and water resistance.
Sand the hull smooth to create a sleek finish, ready for painting or varnishing. Choose a marine-grade paint or varnish to protect the wood from water damage and UV rays, ensuring the longevity of your rowboat.
Installing the Deck and Seats
To make your rowboat comfortable and functional, install a deck and seating inside the hull. Cut plywood sheets to fit as a deck, securing them to the frame with screws and adhesive. Add benches or seats for passengers, making sure they are positioned for balance and comfort while rowing.
Consider adding storage compartments or cup holders to enhance the usability of your rowboat. Personalize the interior with cushions, pillows, or decorative elements to make it your own.
Finishing Touches
With the construction complete, take the time to inspect your wooden rowboat for any imperfections or areas that may need reinforcement. Make any necessary adjustments and apply a final coat of paint or varnish to protect the wood and give your boat a polished appearance.
Before setting sail, test your rowboat in shallow waters to ensure it floats correctly and handles well. Practice rowing to get a feel for the boat’s performance and make any adjustments as needed.
Building a wooden rowboat as a beginner is a challenging yet rewarding experience that allows you to create a unique watercraft tailored to your preferences. With careful planning, attention to detail, and a passion for craftsmanship, you can enjoy the fruits of your labor as you glide across the water in a vessel of your own making.