Wooden TV Stand: Effortless DIY Guide for Best Results
Discover the joy of crafting a customized wooden TV stand that perfectly complements your space and style. Follow our step-by-step guide for building a functional and visually appealing piece that showcases your DIY skills with flair.
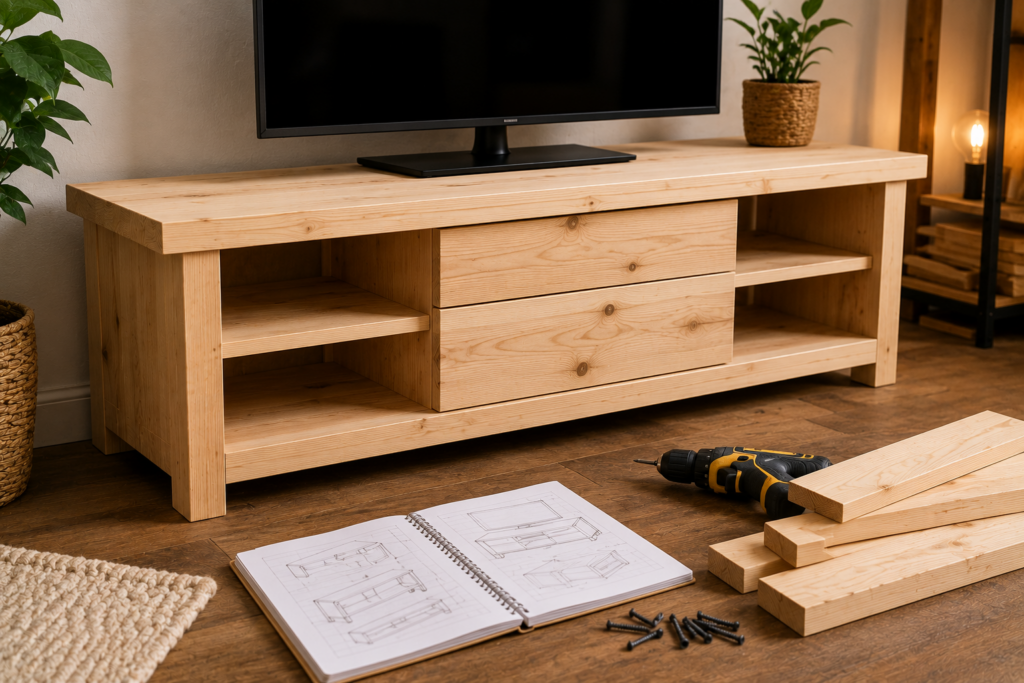
Wooden TV stands are a classic and practical piece of furniture that can enhance the aesthetic appeal of your living room while providing a sturdy base for your television. Building your own wooden TV stand can be a rewarding DIY project that allows you to customize the design to suit your space and style preferences. In this guide, we will take you through the step-by-step process of how to build a wooden TV stand that is both functional and visually appealing.
Planning Your Wooden TV Stand Design
Before you start building your wooden TV stand, it’s important to plan out the design and dimensions to ensure that it will fit your TV and other entertainment components. Consider the size of your TV, the number of shelves or storage compartments you need, and any additional features you want to incorporate, such as cable management solutions or built-in lighting.
Choosing the Right Wood and Materials
When it comes to constructing a wooden TV stand, selecting the right type of wood is crucial for both the aesthetic and structural integrity of the piece. Hardwoods like oak, walnut, or maple are popular choices for furniture projects due to their durability and attractive grain patterns. Additionally, you will need other materials such as screws, wood glue, sandpaper, and a finish or stain to complete the project.
Cutting and Preparing the Wood
Once you have your design and materials ready, you can begin cutting the wood to the required dimensions according to your plans. Use a circular saw or a miter saw to make precise cuts for the different components of the TV stand, including the top, sides, shelves, and support pieces. After cutting the wood, sand the edges and surfaces to ensure a smooth finish and remove any rough edges.
Assembling the Wooden TV Stand
With all the wooden pieces cut and prepared, it’s time to assemble the TV stand. Start by attaching the sides to the top using wood glue and screws, making sure to align them properly for a symmetrical look. Then, add the shelves and support pieces according to your design, securing them in place with screws or dowels for added stability. Check the measurements and adjust as needed to ensure a snug fit for your TV and other electronics.
Finishing Touches and Customization
Once the basic structure of the wooden TV stand is assembled, you can personalize it further with additional features or finishes. Consider staining or painting the wood to match your existing decor or applying a clear coat for a more natural look. You can also add decorative hardware, such as knobs or handles, to enhance the overall appearance of the TV stand and make it uniquely yours.
Conclusion
Building a wooden TV stand is a fulfilling project that allows you to showcase your woodworking skills while creating a practical and stylish piece of furniture for your home. By following these steps and guidelines, you can construct a customized TV stand that perfectly fits your space and meets your entertainment needs. Get started on your DIY project today and enjoy the satisfaction of watching your favorite shows on a TV stand crafted by your own hands.