Wooden Toy Box: Effortless DIY Guide for Building a Must-Have Storage Solution
Create a charming and practical storage solution with this effortless DIY guide for building your own wooden toy box. Delight children and parents with a customized toy box that adds a touch of elegance to any playroom or bedroom.
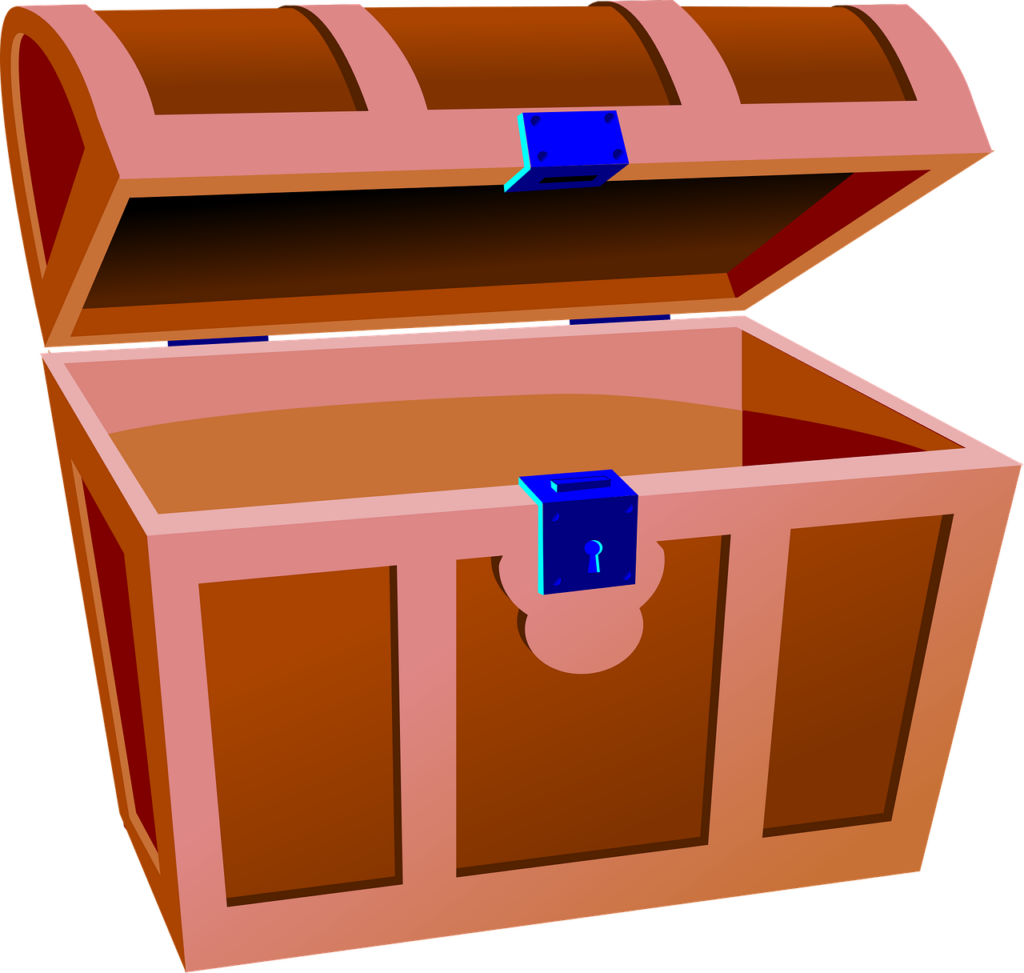
Wooden toy boxes are not only practical for organizing toys but also add a touch of charm to a child’s bedroom or playroom. Building your own wooden toy box with a lid can be a rewarding project that allows you to customize the size, design, and finish to suit your needs and style. In this guide, we will walk you through the steps to create a beautiful and functional wooden toy box that will delight children and parents alike.
Planning Your Wooden Toy Box Project
Before you begin building your wooden toy box, it’s important to plan out the project. Consider the dimensions of the box based on the space where it will be placed and the amount of toys it needs to hold. Think about the design elements such as the type of wood, the finish, and any additional features like a lid or wheels.
Materials and Tools You Will Need
Gather all the necessary materials and tools for your wooden toy box project. You will need wood boards cut to size for the box, wood glue, nails or screws, hinges for the lid, a saw, a hammer or screwdriver, sandpaper, and paint or stain for finishing touches.
Building the Wooden Toy Box
-
Cutting the Wood: Begin by cutting the wood boards to the desired dimensions for the base, sides, and lid of the toy box.
-
Assembling the Box: Use wood glue and nails or screws to assemble the base and sides of the box. Make sure the corners are square and sturdy.
-
Adding the Lid: Attach hinges to the back of the lid and the box to create a functional lid that opens and closes smoothly.
-
Finishing Touches: Sand the wooden toy box to smooth any rough edges and create a polished finish. Apply paint or stain in your desired color to protect the wood and enhance its appearance.
Personalizing Your Wooden Toy Box
To make your wooden toy box unique, consider adding personal touches such as painting designs, stenciling your child’s name, or applying decals. You can also add handles or knobs to the lid for easy opening and closing.
Safety Considerations
When building a wooden toy box for children, safety is paramount. Ensure that all edges are smooth and rounded to prevent splinters. Use non-toxic paint or stain that is safe for children’s toys. Check that the lid has a safe hinge mechanism to prevent accidental pinching.
Benefits of a DIY Wooden Toy Box
Building your own wooden toy box offers numerous benefits. It allows you to create a custom piece that fits your space and style preferences. Additionally, DIY projects can be more cost-effective than purchasing a pre-made toy box, and they provide a sense of satisfaction and accomplishment.
In conclusion, building a wooden toy box with a lid is a fun and rewarding project that can enhance the organization and aesthetic of a child’s room. By following these steps and personalizing your toy box, you can create a special piece that will be cherished for years to come.