Wooden End Table Building: Effortless How-To Guide
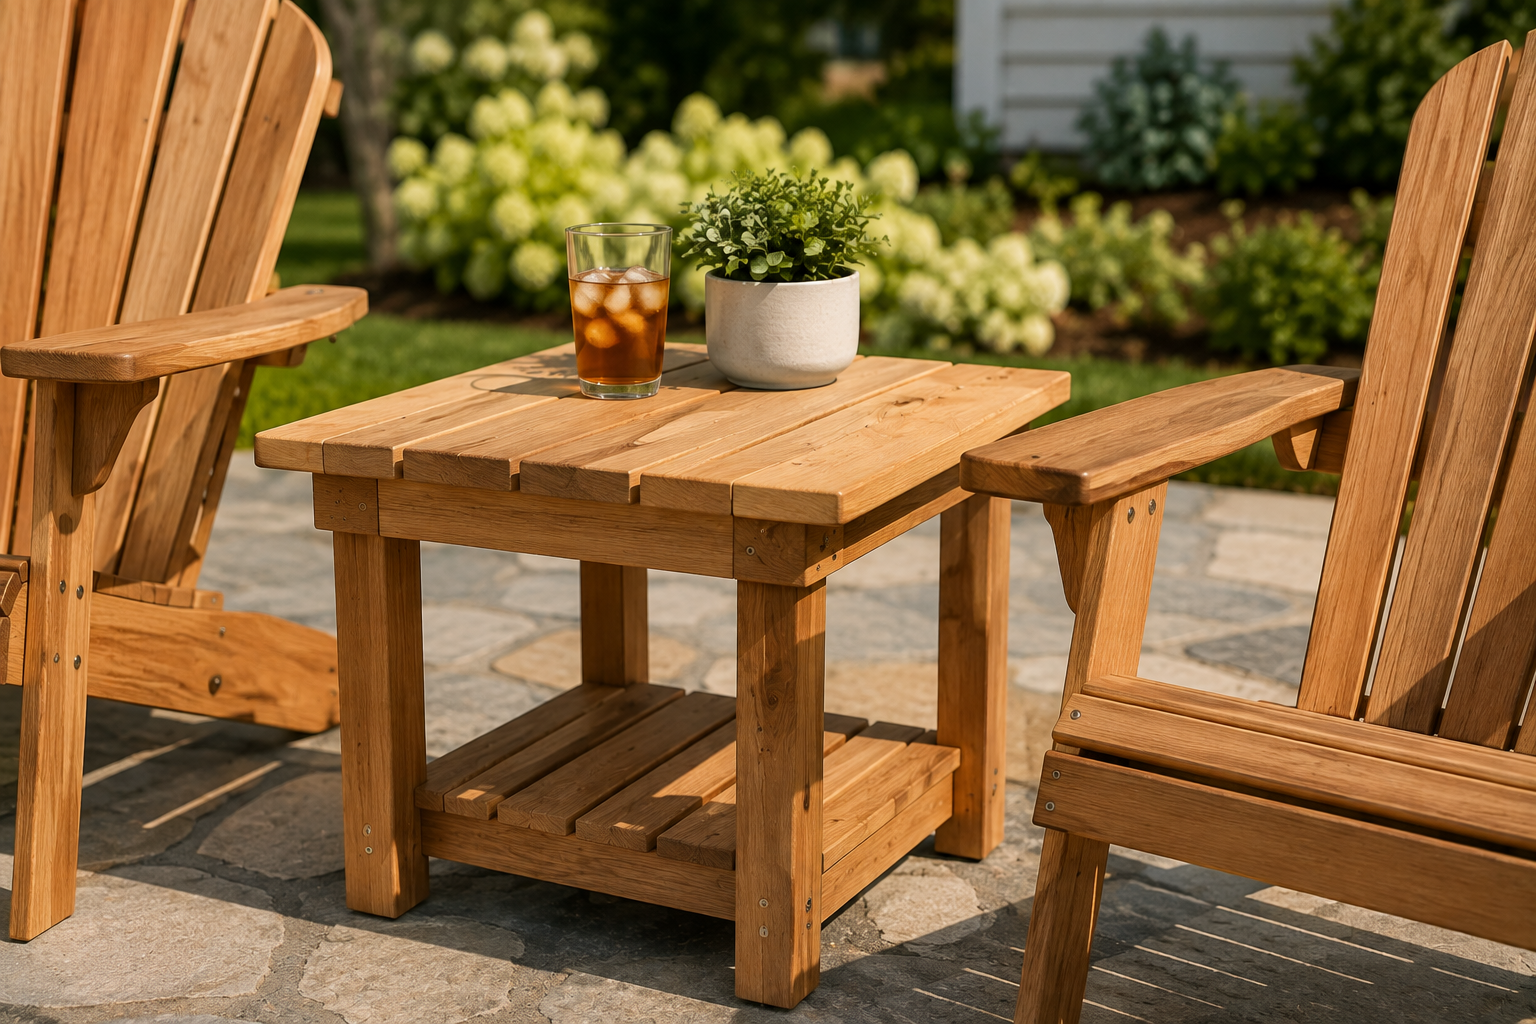
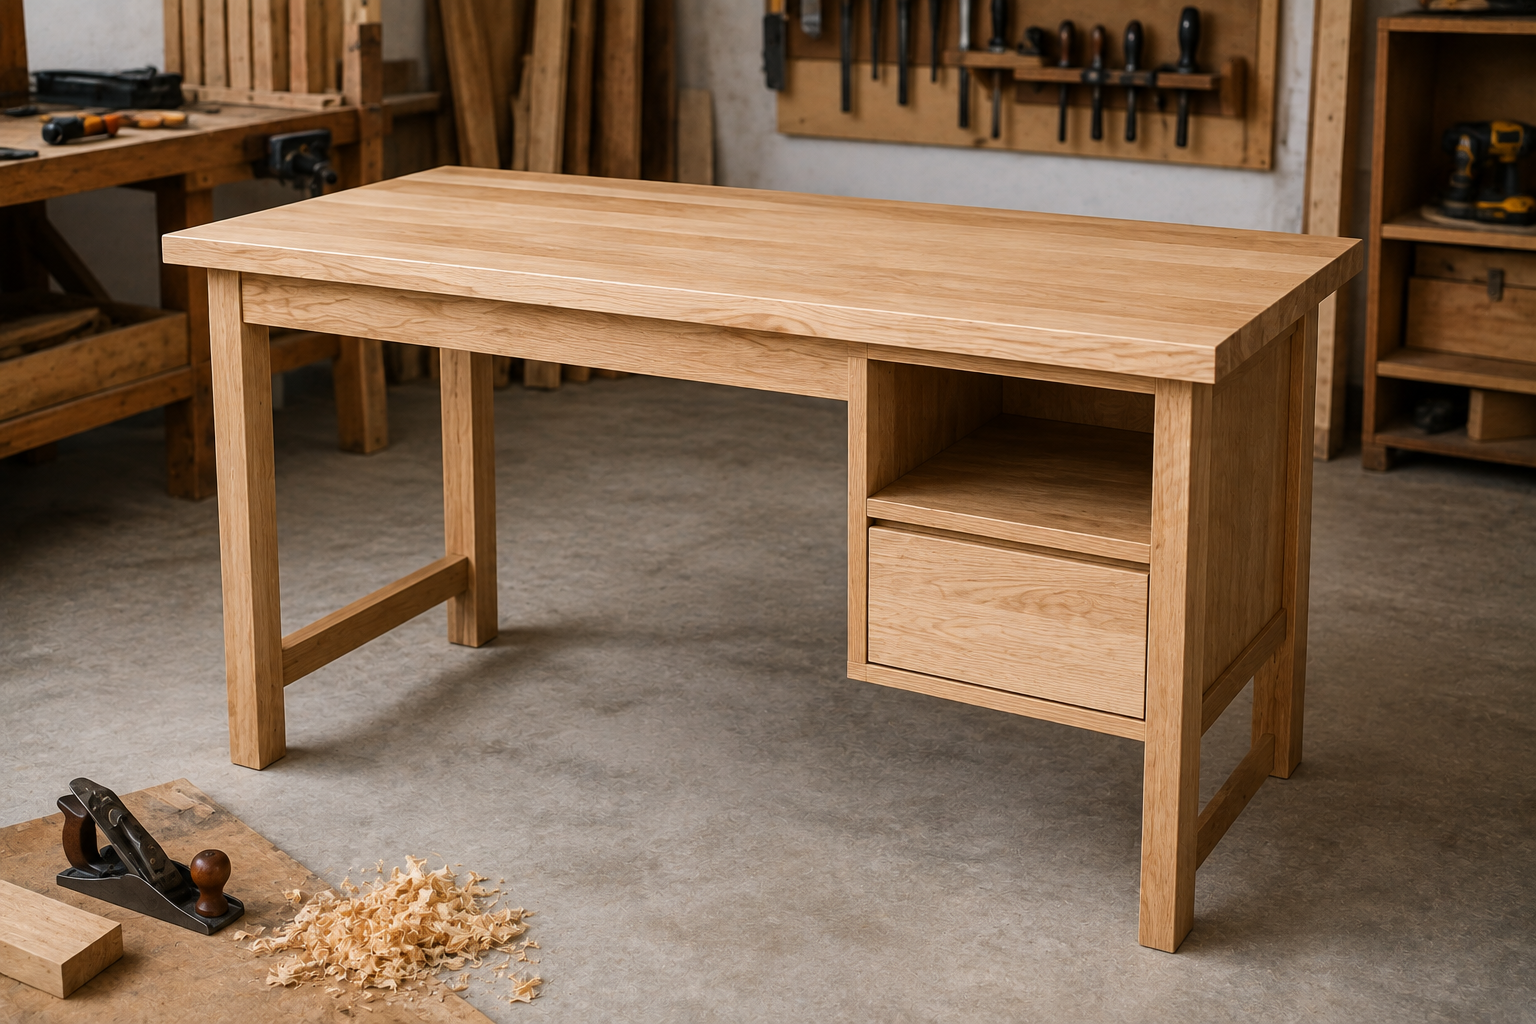
Building your very own wooden end table is a breeze with this step-by-step guide. Crafted from scratch, this project is the perfect way to showcase your woodworking skills and add a touch of charm to your home decor.
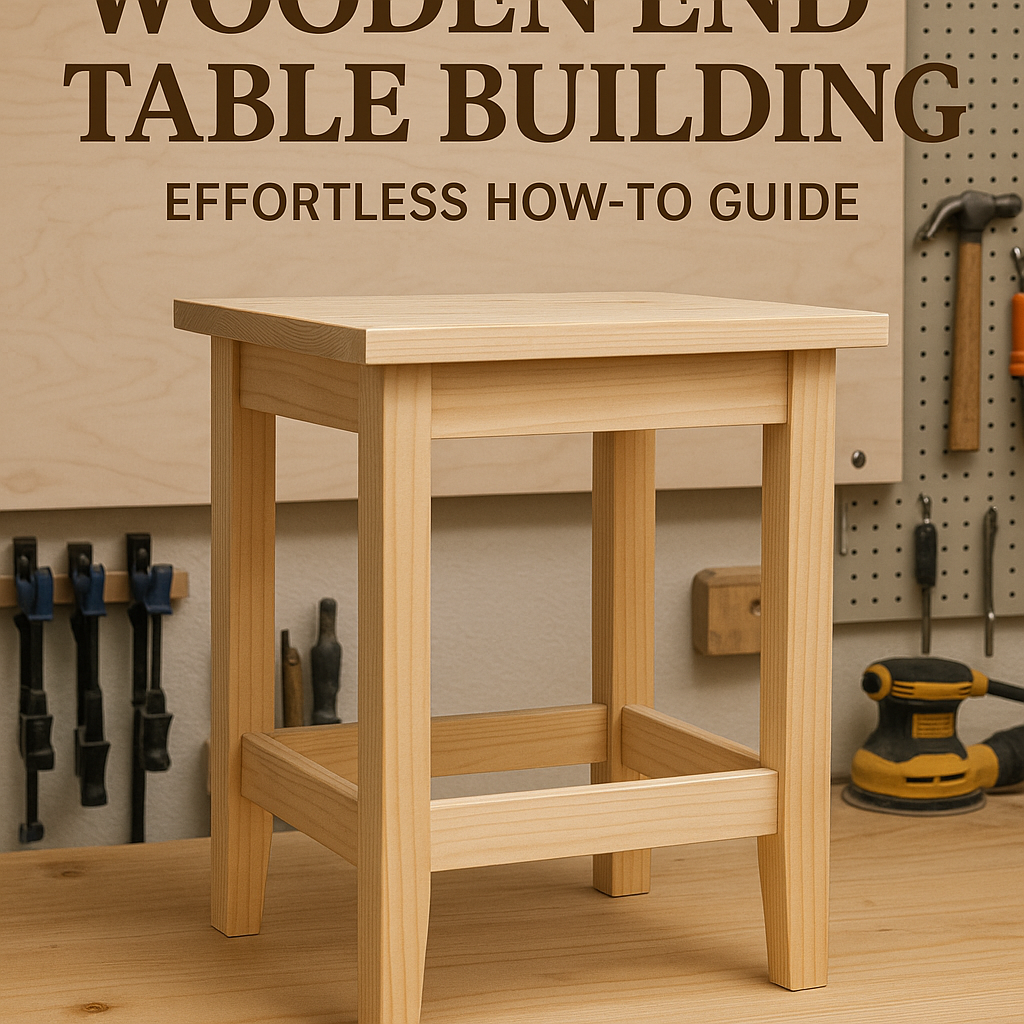
Woodworking is a timeless craft that allows individuals to unleash their creativity and craftsmanship. One popular woodworking project for beginners and seasoned craftsmen alike is building a wooden end table. Whether you are looking to add a personalized touch to your home decor or hone your woodworking skills, creating a wooden end table can be a rewarding and enjoyable experience. In this guide, we will walk you through the steps on how to build a wooden end table from scratch, providing you with the knowledge and confidence to tackle this project with ease.
Planning Your Project
Before diving into the hands-on work, it’s essential to start the planning process. Begin by determining the size and design of your end table. Consider the dimensions that will fit the space where the table will be placed. Sketch out your design, including details such as the table’s height, width, and any additional features like shelves or storage compartments. This step will serve as a blueprint for your project and ensure a smooth construction process.
Selecting the Wood
The choice of wood is a crucial aspect of building a wooden end table. Opt for a wood type that suits your aesthetic preferences and budget. Popular options for end tables include oak, maple, cherry, and walnut. Keep in mind that different woods have unique characteristics in terms of grain pattern, durability, and workability. Visit a local lumber yard or woodworking store to select high-quality boards that will form the foundation of your end table.
Cutting and Preparing the Wood
Once you have your wood selected, it’s time to cut and prepare the pieces for assembly. Use a tape measure, pencil, and a saw to carefully cut the wood into the desired dimensions according to your design plan. Ensure precise cuts to guarantee a seamless fit during assembly. After cutting the pieces, sand the edges and surfaces to achieve a smooth finish and remove any rough spots or splinters.
Assembling the End Table
Assembling the wooden end table requires attention to detail and precision. Begin by connecting the table legs to the tabletop using wood glue and screws. Make sure the legs are aligned correctly and securely attach them to the tabletop to form the base of the end table. Next, attach any additional components such as shelves or drawers according to your design. Take your time during this step to ensure that all pieces are securely fastened and the table is stable.
Finishing Touches
To enhance the look and durability of your wooden end table, apply a finish that suits your preferences. Options include stains, varnishes, or paints. Choose a finish that complements the wood’s natural beauty while providing protection from everyday wear and tear. Apply the finish evenly using a brush or cloth and allow it to dry thoroughly before moving the end table to its designated spot in your home.
Conclusion
Building a wooden end table is a fulfilling woodworking project that allows you to showcase your skills and create a practical piece of furniture for your home. By following the steps outlined in this guide and adding your unique touch to the design, you can enjoy the process of creating a custom end table that reflects your style and craftsmanship. Embrace the journey of woodworking and unleash your creativity as you embark on this rewarding project.