Simple Wooden Shoe Rack: Effortless DIY Guide
Discover the joy of crafting your own wooden shoe rack with this effortless DIY guide. Say goodbye to cluttered hallways and hello to a stylish storage solution thats as practical as it is charming.
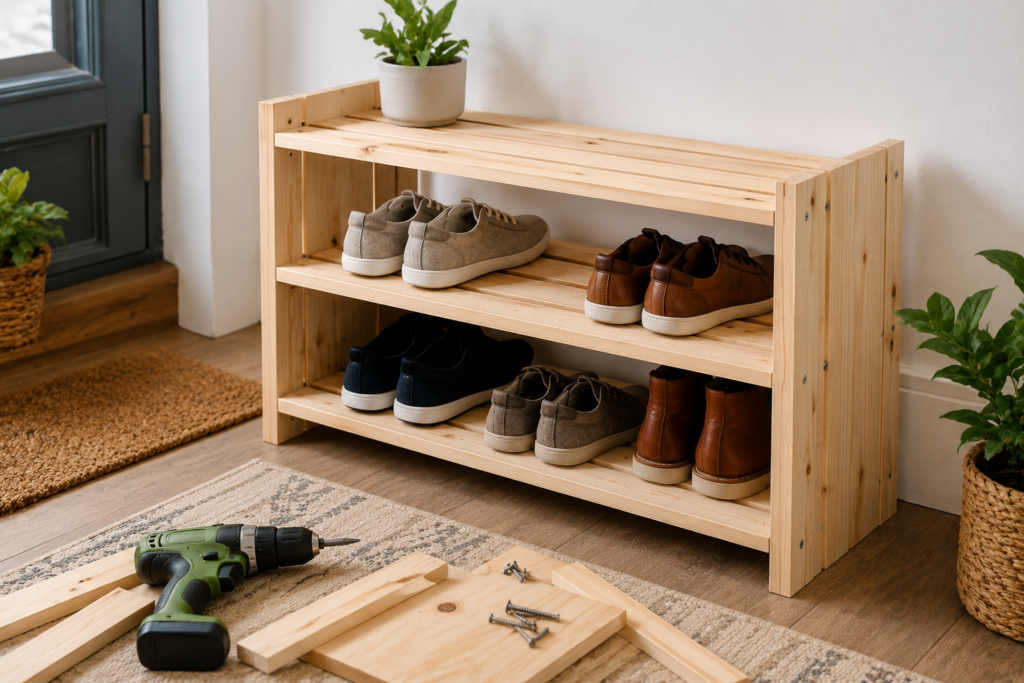
When it comes to organizing your shoe collection, a simple wooden shoe rack can be a practical and stylish solution. Not only does it help keep your footwear neatly arranged, but it also adds a touch of warmth to your home decor. In this guide, we will walk you through the steps on how to build a basic wooden shoe rack that is both functional and aesthetically pleasing.
Planning and Preparation:
Before you start building your wooden shoe rack, it’s important to determine the size and design that will best suit your space and shoe storage needs. Measure the area where you intend to place the shoe rack to ensure it fits comfortably. Decide on the number of shelves you want and the spacing between them. Keep in mind the height of the shoes you will be storing to ensure adequate clearance between shelves.
Materials and Tools Needed:
For this simple DIY project, you will need the following materials:
- Wooden boards (pre-cut to your desired shelf sizes)
- Wood screws
- Drill
- Sandpaper
- Wood finish (optional)
- Paint or stain (optional)
Assembly Steps:
-
Cut the Wooden Boards: Start by cutting the wooden boards to the desired lengths for the shelves and sides of the shoe rack. You can use a saw or have the boards cut to size at your local hardware store.
-
Assemble the Frame: Begin by attaching the sides of the shoe rack to the shelves using wood screws. Make sure the shelves are evenly spaced and secure the joints tightly.
-
Finishing Touches: Once the basic structure is complete, sand the edges and surfaces of the shoe rack to remove any rough edges. You can also choose to apply a wood finish or paint/stain the rack to match your decor.
-
Mounting or Placement: Depending on the design of your shoe rack, you can either mount it on the wall or place it on the floor. Use appropriate hardware for wall mounting and ensure the rack is securely anchored.
Maintenance and Care:
To keep your wooden shoe rack in top condition, it’s important to regularly clean and maintain it. Wipe down the surfaces with a damp cloth to remove dust and dirt. Avoid placing wet or damp shoes on the rack to prevent mold or mildew from forming. If your shoe rack is in direct sunlight, consider applying a UV protectant to prevent the wood from fading or warping.
Benefits of a Wooden Shoe Rack:
- Durability: Wooden shoe racks are sturdy and long-lasting, providing a reliable storage solution for your shoes.
- Aesthetics: The natural beauty of wood adds a touch of elegance to your home and complements various decor styles.
- Customization: Wooden shoe racks can be easily customized to suit your specific preferences in terms of size, shape, and finish.
- Functionality: With multiple shelves, a wooden shoe rack offers ample storage space for organizing your footwear neatly.
In conclusion, building a simple wooden shoe rack is a rewarding DIY project that can enhance both the functionality and appearance of your living space. By following these step-by-step instructions and customizing the design to suit your needs, you can create a practical storage solution that showcases your craftsmanship and style. Whether you’re a seasoned woodworker or a novice DIY enthusiast, this project is a great way to add a personal touch to your home while keeping your shoe collection organized and accessible.