How to Set Up a Wood Finishing Area in Your Workshop
Transform your woodworking projects with a professionally set up wood finishing area in your workshop. From planning the perfect layout to stocking up on essential tools and materials, create a space where your wood finishes shine with ease and perfection.
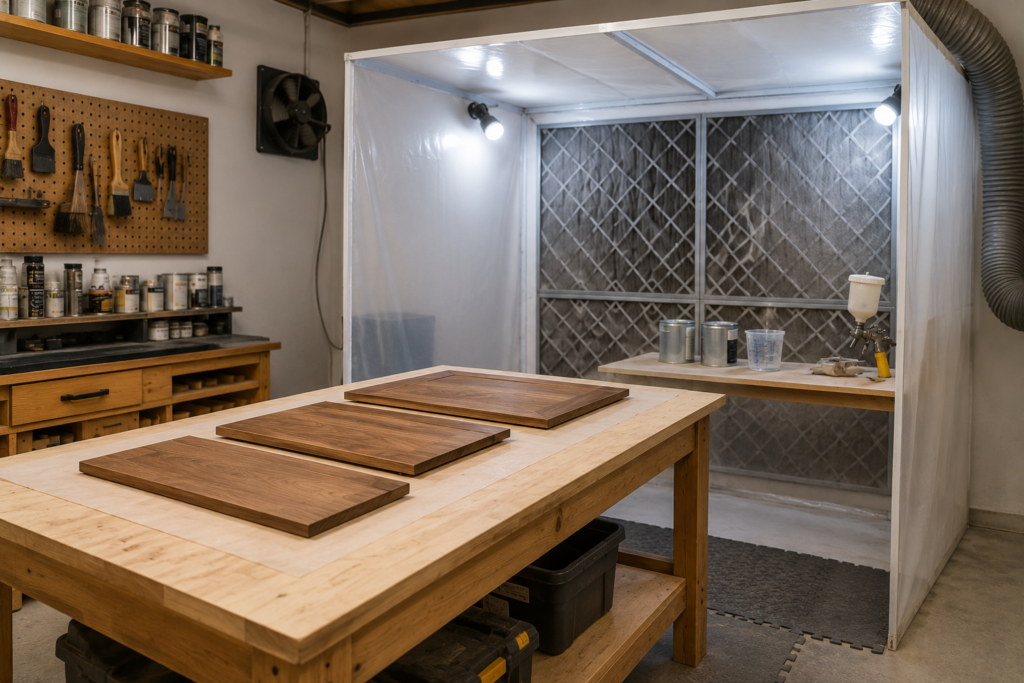
Woodworking enthusiasts understand the importance of a dedicated area for finishing their projects. Setting up a wood finishing area in your workshop can greatly improve the quality and aesthetics of your woodworking creations. With the right tools, materials, and setup, you can achieve professional-looking finishes on your woodwork. In this article, we will explore the essential steps and considerations for creating a well-equipped and organized wood finishing area in your workshop.
1. Planning Your Wood Finishing Area
Before diving into setting up your wood finishing area, it is crucial to plan and visualize how you want the space to function. Consider factors such as the size of your projects, the type of finishes you commonly use, and the ventilation requirements for the finishing products. Assess the available space in your workshop and choose a well-ventilated area that is away from dust and debris that could mar your finish.
2. Essential Tools and Materials
To set up a functional wood finishing area, you will need a set of essential tools and materials. These may include:
- A sturdy workbench or table where you can apply finishes.
- Quality brushes, foam applicators, or spray guns for applying finishes.
- Sandpaper in various grits for surface preparation.
- Rags or lint-free cloths for wiping and applying finishes.
- Safety equipment such as goggles, gloves, and a respirator for protection.
- A well-stocked supply of finishes such as stains, varnishes, lacquers, and oils.
Investing in high-quality tools and materials will ensure a smoother finishing process and professional results.
3. Proper Ventilation and Safety Measures
Ventilation is critical when working with wood finishes, as many finishing products emit harmful fumes that can be hazardous to your health. Ensure that your wood finishing area is well-ventilated either through natural ventilation or by using an exhaust fan or ventilation system. Additionally, always wear appropriate safety gear such as a respirator to protect yourself from inhaling harmful fumes and gloves to shield your skin from chemicals.
4. Organizing Your Supplies
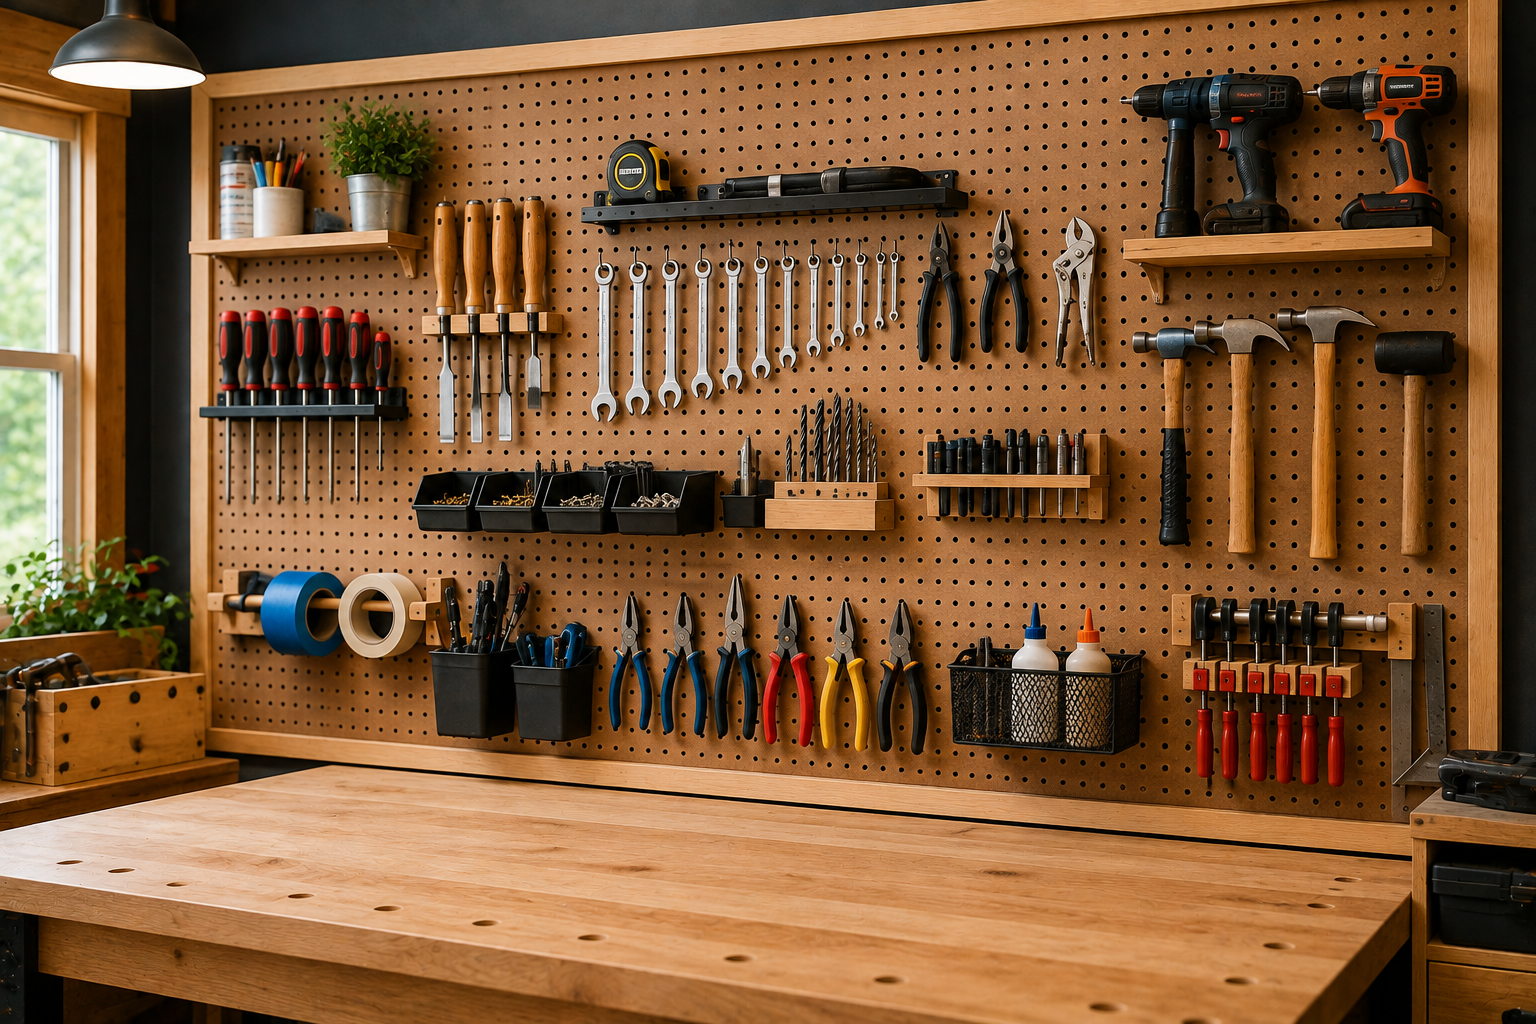
An organized workspace is essential for efficiency and ease of work. Keep your finishing supplies neatly arranged and easily accessible. Consider installing shelves, cabinets, or pegboards to store your finishes, brushes, and other tools. Labeling containers and drawers can help you quickly locate the items you need during the finishing process, saving you time and reducing clutter in your workspace.
5. Lighting and Inspection
Proper lighting is crucial for achieving a flawless finish on your woodworking projects. Ensure that your wood finishing area is well-lit to accurately inspect the surface for imperfections, drips, or streaks. Adequate lighting can help you achieve a uniform finish and detect any flaws that may require touch-ups before the final curing stage.
6. Clean-Up and Maintenance
After completing a finishing project, it is essential to clean and maintain your wood finishing area. Dispose of used rags and applicators properly to reduce the risk of spontaneous combustion. Clean your brushes and tools promptly to prolong their lifespan and prevent cross-contamination of finishes. Regularly inspect and maintain your finishing equipment to ensure they are in good working condition for future projects.
In conclusion, setting up a wood finishing area in your workshop requires careful planning, the right tools and materials, proper ventilation, organization, and maintenance. By following these essential steps and considerations, you can create a functional and well-equipped space for applying finishes to your woodworking projects, leading to professional-looking results. A well-designed wood finishing area will not only enhance the beauty of your work but also streamline your finishing process, making woodworking a more enjoyable and satisfying experience.
Want to Improve Your Workshop Even Further?
Setting up a dedicated wood finishing area is a great start, but your overall workshop layout and tool selection can also make a big difference in how efficiently you work.
If you’re planning to improve your workshop, get the FREE report: “The Top 20 Tools For Workshops of ANY Budget!”. It can give you useful ideas about the essential tools to consider, whether you’re working with a small budget or building a more complete woodworking workshop.
And if you want to take your workshop setup further, learn more about Ultimate Small Shop and discover how to make better use of your available workspace.