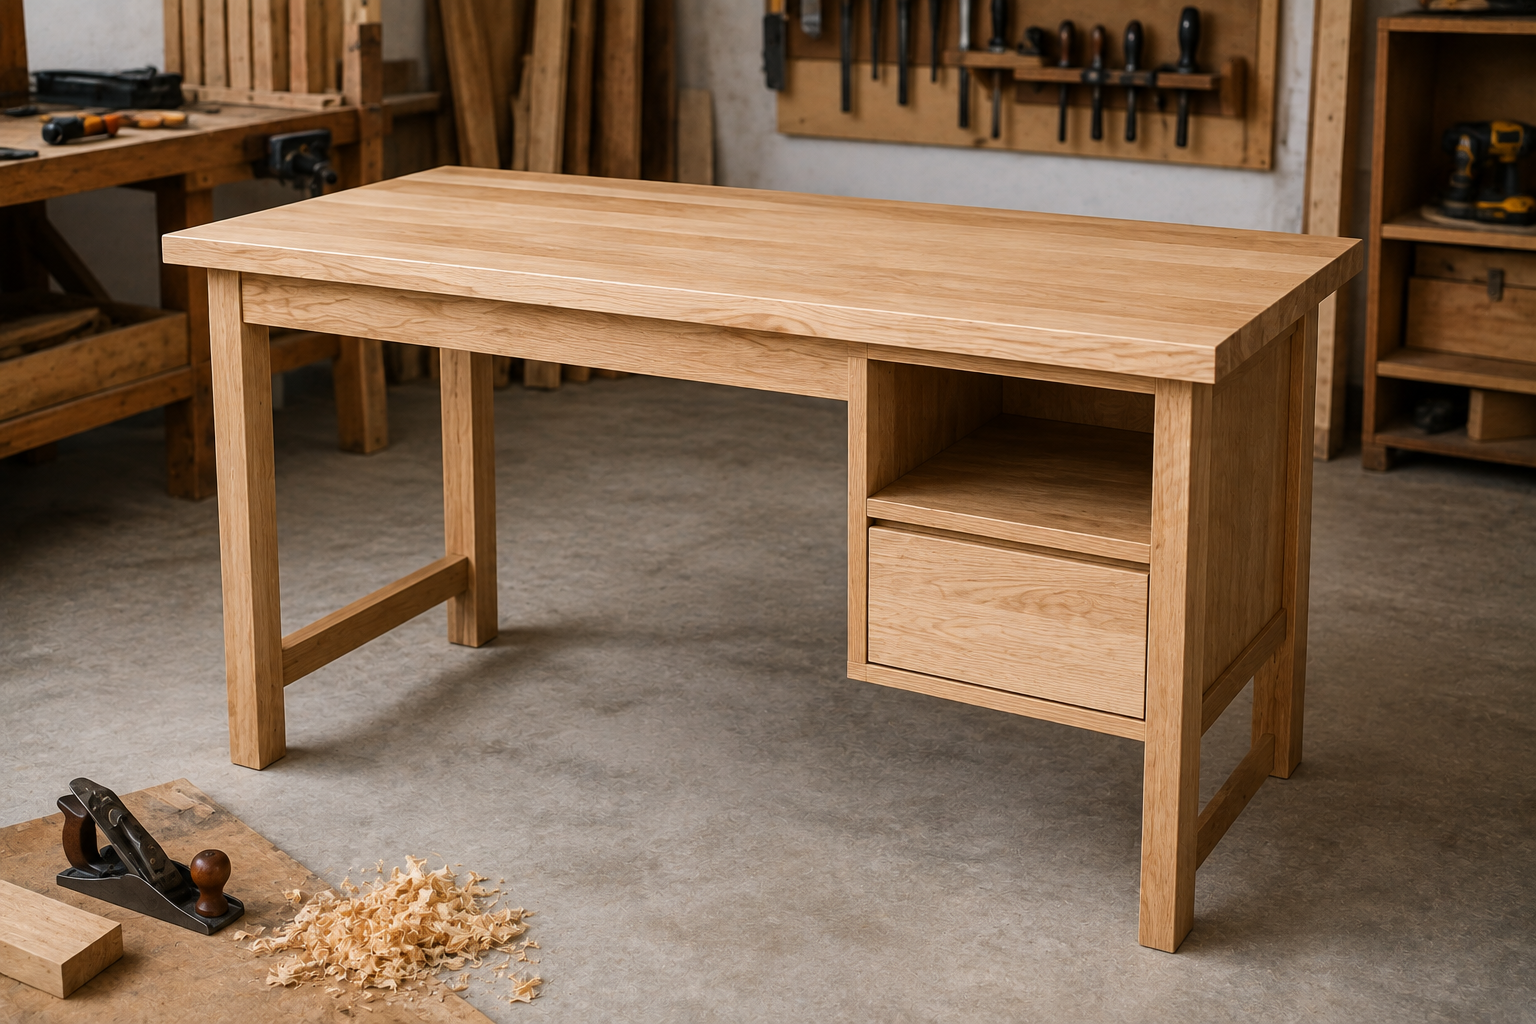
Wooden Printer Stand: Easy Ways to Craft a Versatile Stand
Elevate your workspace with a stylish and practical wooden printer stand that keeps your printer within easy reach. Discover the joy of crafting a versatile stand that declutters your desk and adds a touch of elegance to your office decor.
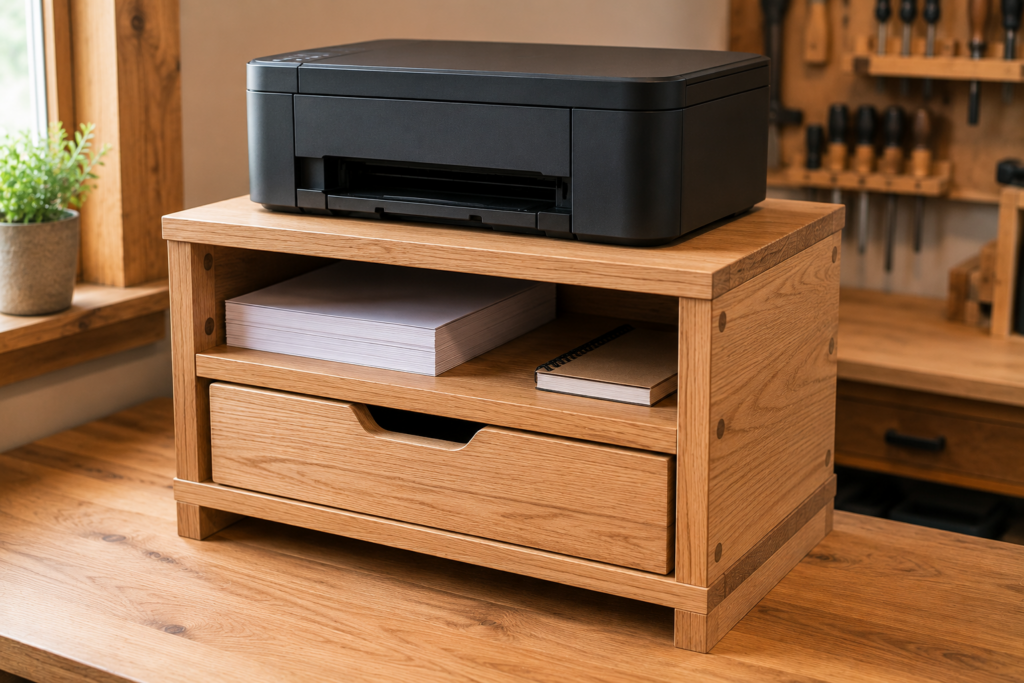
Wooden printer stands provide a stylish and practical solution for organizing your workspace and keeping your printer easily accessible. If you’re looking to declutter your desk and create a dedicated space for your printer, building a wooden printer stand can be a rewarding and straightforward DIY project. In this guide, we’ll walk you through the step-by-step process of building a wooden printer stand that is sturdy, functional, and visually appealing.
Planning Your Wooden Printer Stand Design
Before you start building your wooden printer stand, it’s essential to plan out the design and dimensions to ensure that it will fit your printer and match your office decor. Consider the size and weight of your printer, as well as any additional storage or shelving you may want to incorporate into the stand. Sketch out your design on paper, noting the measurements and materials you’ll need to bring your vision to life.
Selecting the Right Wood and Materials
Choosing the right type of wood is crucial for the durability and aesthetics of your wooden printer stand. Hardwoods like oak, maple, or birch are excellent choices for its strength and natural beauty. Ensure that the wood is kiln-dried to prevent warping or cracking over time. In addition to wood, you’ll need basic tools such as a saw, drill, screws, and sandpaper to complete the construction.
Building the Wooden Frame
Start by cutting the wood to the dimensions specified in your design plan. Assemble the frame of the printer stand by attaching the pieces together using screws or wood glue. Ensure that the frame is sturdy and level to support the weight of the printer. Add extra support beams or braces if needed to reinforce the structure.
Adding Shelves or Storage Compartments
To maximize the functionality of your wooden printer stand, consider adding shelves or storage compartments for paper, ink cartridges, or other office supplies. Measure and cut additional pieces of wood to create the shelving units, making sure they fit securely within the frame of the stand. Use brackets or dowels to secure the shelves in place, ensuring they can safely hold the weight of your supplies.
Sanding and Finishing Touches
Once the basic structure of the wooden printer stand is complete, sand down any rough edges or imperfections to create a smooth surface. Apply a coat of wood finish or paint to protect the wood from moisture and enhance its appearance. Choose a finish that complements the existing furniture in your workspace for a cohesive look.
Setting Up Your Wooden Printer Stand
After the finish has dried, place your printer on top of the stand and connect it to your computer or network. Make sure the stand is positioned in a convenient location with easy access to power outlets and cable connections. Organize your office supplies on the shelves or compartments within the stand for a well-organized and clutter-free workspace.
In conclusion, building a wooden printer stand is a practical and rewarding DIY project that can enhance the functionality and aesthetics of your home office or workspace. With a bit of careful planning, the right materials, and some basic woodworking skills, you can create a custom printer stand that is both functional and visually appealing. Whether you’re a seasoned DIY enthusiast or a beginner looking to hone your woodworking skills, follow these steps to build a wooden printer stand that meets your needs and adds a touch of elegance to your workspace.