Wooden Bathroom Shelf: Effortless DIY Guide for Stunning Results
Transform your bathroom with a touch of natural beauty by building your very own *wooden bathroom shelf!* Maximize storage space and infuse warmth into your space with this DIY project thats both rewarding and cost-effective.
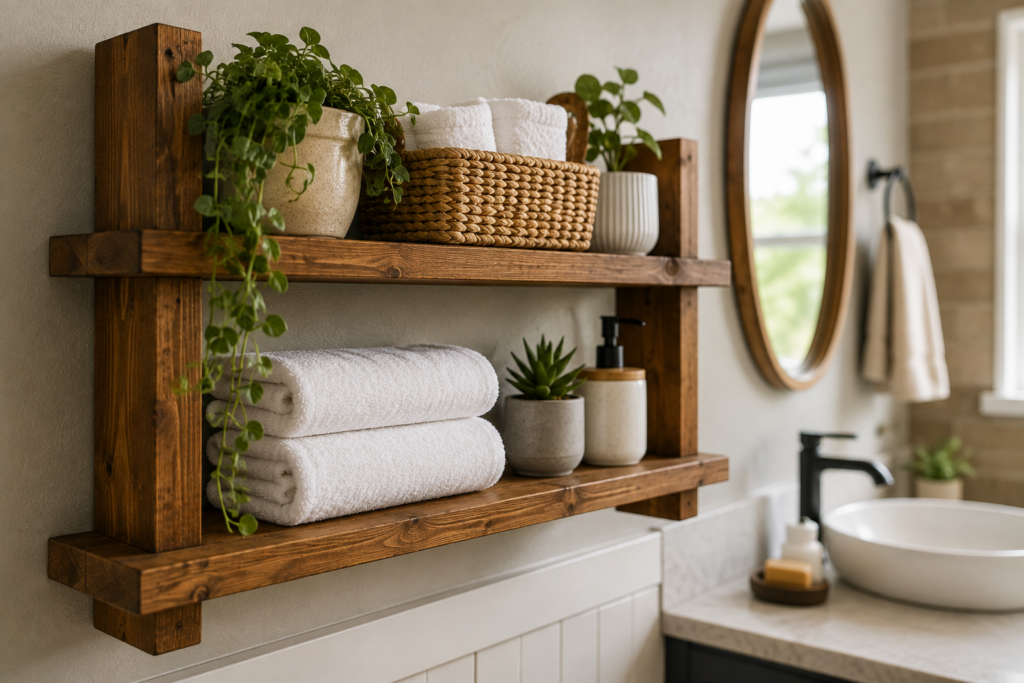
Wooden bathroom shelves are a versatile and aesthetically pleasing addition to any bathroom. Not only do they provide valuable storage space for towels, toiletries, and other bathroom essentials, but they also add a touch of warmth and natural beauty to the space. If you’re looking to add a personal touch to your bathroom while maximizing storage, building a wooden bathroom shelf can be a rewarding and cost-effective DIY project. In this guide, we will walk you through the steps to create your own wooden bathroom shelf.
Planning and Preparation
Before you start building your wooden bathroom shelf, it’s essential to plan and gather all the necessary materials and tools. You will need wood boards, a saw, measuring tape, sandpaper, wood glue, screws, a drill, and a level. Decide on the size and design of your shelf based on the available space in your bathroom and your storage needs.
Selecting the Right Wood
When choosing the wood for your bathroom shelf, opt for a moisture-resistant and durable wood species such as cedar, teak, or oak. These woods are less prone to warping or rotting in a humid environment like a bathroom. Make sure to sand the wood properly to create a smooth surface and prevent splinters.
Cutting and Assembling
Start by measuring and cutting the wood boards to the desired dimensions for the shelf and support brackets. Use a saw to make precise cuts, ensuring that all pieces fit together seamlessly. Once you have cut the pieces, use wood glue and screws to assemble the shelf. Make sure to use a level to ensure that the shelf is straight and secure.
Finishing Touches
After assembling the wooden bathroom shelf, sand the surface to remove any rough edges and create a smooth finish. You can apply a coat of wood stain or sealant to protect the wood from moisture and enhance its natural beauty. Consider adding decorative elements such as brackets or trim to customize the look of your shelf.
Installing the Shelf
Once the shelf is complete, it’s time to install it in your bathroom. Use a stud finder to locate the wall studs and mark the placement of the shelf. Secure the shelf to the wall using screws and a drill, making sure it is level and sturdy. Test the shelf by placing items on it to ensure it can hold the weight securely.
Maintenance
To maintain your wooden bathroom shelf, regularly clean it with a damp cloth to remove dust and moisture. Avoid using harsh chemical cleaners that can damage the wood. If the shelf starts to show signs of wear, sand and reapply a coat of sealant to protect the wood and keep it looking its best.
Conclusion
Building a wooden bathroom shelf is a satisfying DIY project that can enhance the functionality and aesthetics of your bathroom. By following the steps outlined in this guide and choosing the right materials, you can create a durable and stylish storage solution that complements your bathroom decor. Take the time to plan, measure, and assemble the shelf with care to ensure a quality finished product that will serve you well for years to come.