Rustic Wooden Side Table: Must-Have DIY Guide
Building a rustic side table is a delightful way to infuse your living space with warmth and character. Embrace the natural charm of reclaimed wood and let your creativity shine as you craft a stunning piece that will be a standout in your home.
Creating a Stunning Rustic Wooden Side Table
Are you looking to add a touch of charm and functionality to your living space? Building your own rustic wooden side table is a rewarding and creative project that can bring warmth and character to any room. Crafted with natural materials and a dash of creativity, a rustic side table can be a beautiful addition to your home décor. In this guide, we will walk you through the steps on how to build your very own rustic wooden side table.
Selecting the Right Materials
The first step in building a rustic wooden side table is selecting the right materials. Opt for reclaimed or weathered wood to achieve that authentic rustic look. Look for wood with character, such as knots, grains, and imperfections that add to the table’s charm. Additionally, you will need basic woodworking tools such as a saw, sandpaper, drill, screws, and wood glue to assemble your side table.
Creating a Design Plan
Before you start cutting and assembling the wood, it’s essential to have a design plan in mind. Decide on the dimensions of your side table, considering the height, width, and depth that will best suit your space. Sketch out a rough design to visualize how the table will look and function. You can choose to keep the design simple with straight lines or add intricate details such as decorative legs or a distressed finish for a more rustic appeal.
Preparing the Wood
Once you have your design plan ready, it’s time to prepare the wood for construction. Cut the wood to the desired dimensions using a saw, ensuring precise and clean cuts. Sand the edges and surfaces of the wood to smooth out any rough spots and create a refined finish. This step is crucial to ensure that your rustic side table looks polished and professional.
Assembling the Side Table
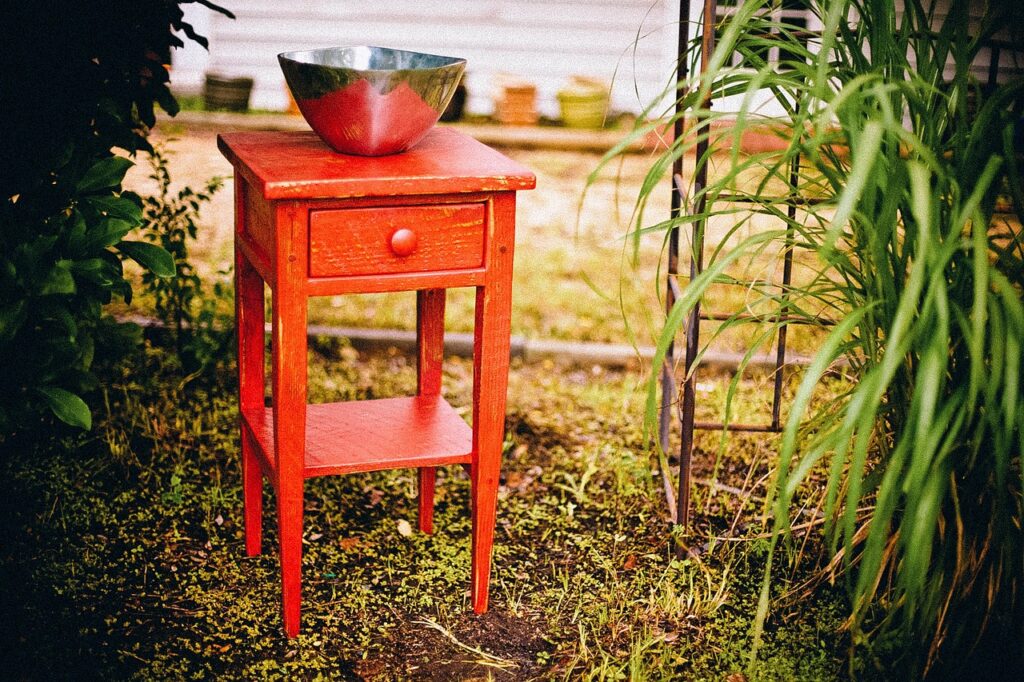
With the wood cut and sanded, it’s time to assemble your rustic side table. Start by attaching the legs to the tabletop using screws and wood glue for added stability. Make sure to measure and align the components carefully to ensure a sturdy and level construction. You can choose to add a lower shelf for extra storage space or leave the design simple and minimalistic for a clean look.
Adding the Finishing Touches
To complete your rustic wooden side table, consider adding some finishing touches to enhance its appearance. You can apply a wood stain or paint in a rustic finish such as weathered gray or distressed white to complement the natural beauty of the wood. Alternatively, you can leave the wood unfinished for a more organic and raw look. Don’t forget to seal the wood with a protective coat to preserve its durability and prevent damage.
Decorating with Your Rustic Side Table
Once your rustic wooden side table is complete, it’s time to showcase it in your home. Place it next to a sofa or armchair in the living room as a stylish accent piece, or use it as a bedside table in the bedroom for a cozy touch. Decorate the table with a potted plant, a stack of books, or a decorative lamp to add personality and charm to your space.
In conclusion, building a rustic wooden side table is a fun and creative project that allows you to customize your furniture to suit your style and space. By following the steps outlined in this guide, you can create a beautiful and functional piece that adds warmth and character to your home décor. Get ready to roll up your sleeves and unleash your creativity to build a stunning rustic side table that will be the envy of all your guests.