Strong Wood Joints: Effortless Guide to Properly Gluing Wood
Learn how to achieve impeccable woodworking joints with the proper wood gluing techniques. Mastering the art of properly gluing wood not only ensures strong bonds but also adds a touch of finesse to your creations. Lets delve into the essential steps for creating durable and visually appealing wood joints.
Woodworking projects often require strong and reliable joints, and one of the key elements to achieving this is knowing how to glue wood properly. Whether you are a seasoned carpenter or a DIY enthusiast, understanding the techniques for gluing wood can make a significant difference in the strength and durability of your creations. Properly gluing wood not only ensures a secure bond but also enhances the overall aesthetics of the finished piece. This article delves into the essential steps and tips for achieving strong joints when working with wood.
Selecting the Right Glue
Before diving into the gluing process, it’s crucial to choose the right type of glue for your woodworking project. Wood glues come in various formulations, each designed for specific applications. For most wood-to-wood joints, traditional yellow wood glue or polyvinyl acetate (PVA) glue is commonly used. These types of glue provide a strong bond and are easy to work with. However, for specific requirements such as outdoor projects or joints that need to withstand water exposure, consider using waterproof or weather-resistant wood glue.
Preparing the Wood Surfaces
Proper surface preparation is essential for a successful wood gluing process. Start by ensuring that the surfaces to be glued are clean, dry, and free from any dust or debris. Smooth surfaces result in better adhesion, so sanding the wood to create a rough texture can improve the bond between the pieces. Additionally, align the wood pieces precisely before applying the glue to avoid misalignment issues later on.
Applying the Glue
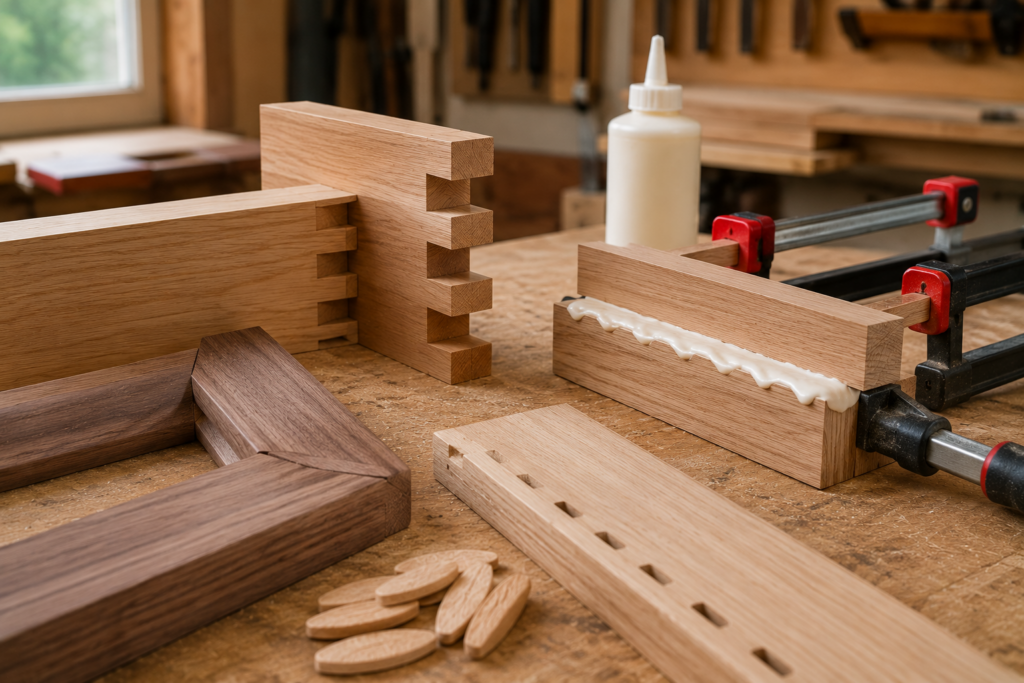
When it comes to applying the glue, less is often more. A thin, even layer of glue on both mating surfaces is usually sufficient to create a strong bond. Use a brush, roller, or even a small piece of scrap wood to spread the glue evenly. Avoid over-applying the glue, as excess glue can lead to messy joints and weaken the bond. Additionally, ensure that the glue is applied to the entire surface area to achieve maximum adhesion.
Clamping the Joints
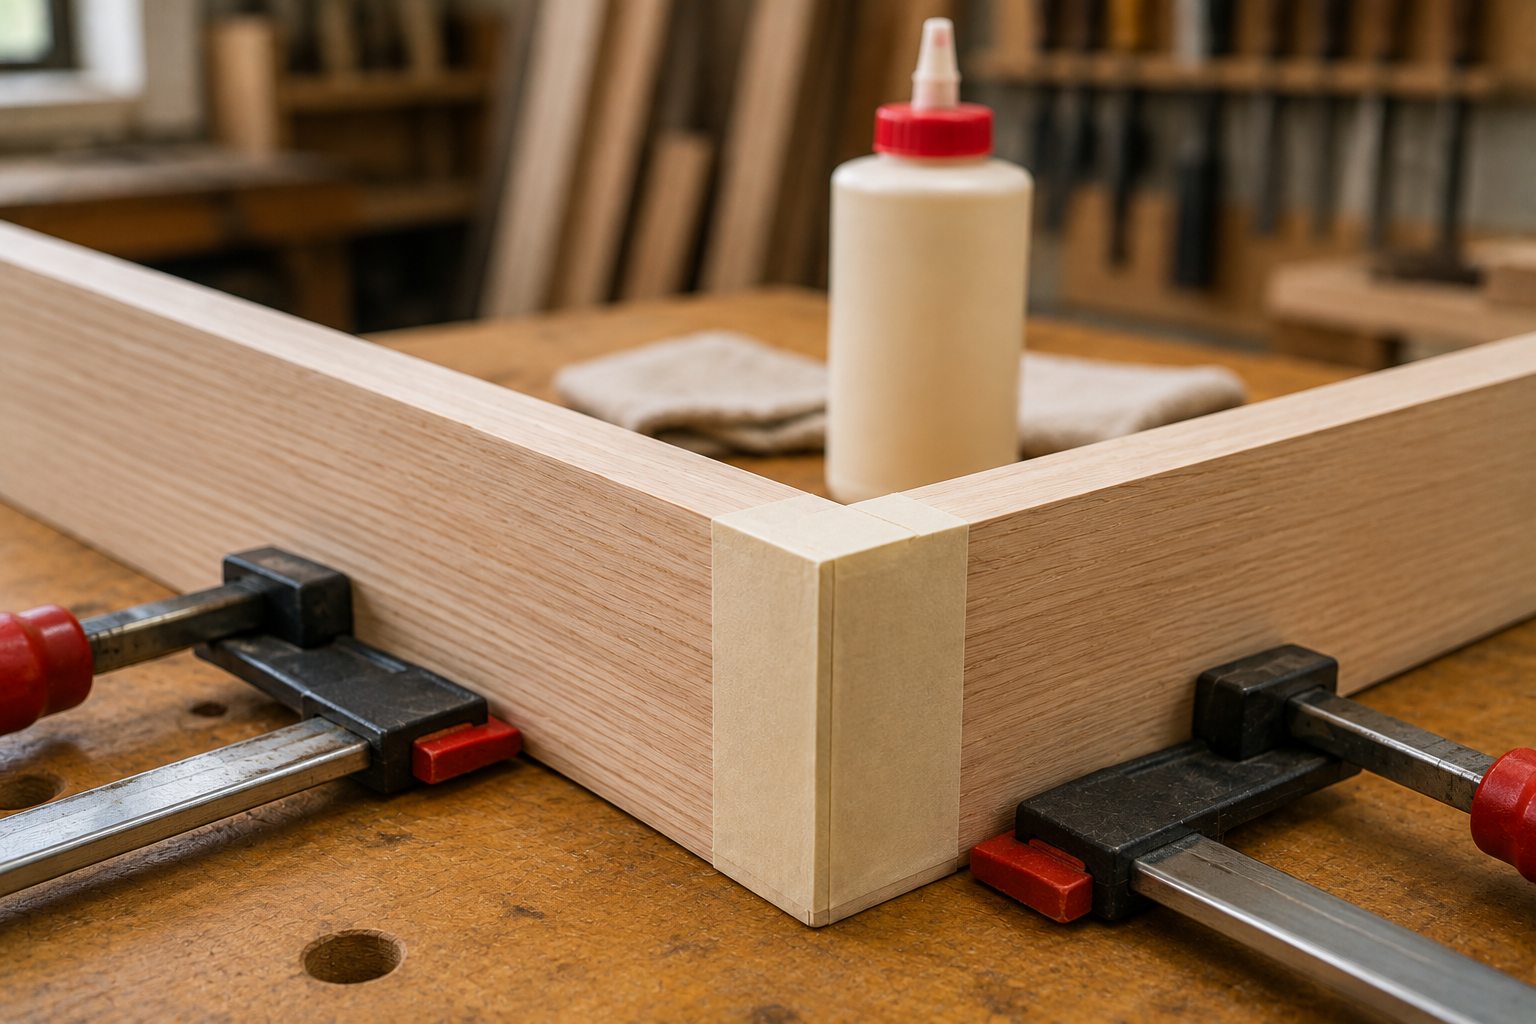
Proper clamping is crucial to ensuring that the glued joints dry securely and form a strong bond. Use clamps to hold the wood pieces together firmly while the glue sets. The amount of pressure applied by the clamps should be sufficient to bring the pieces together without squeezing out all the glue. Follow the manufacturer’s recommendations regarding clamp time and allow the glued joints to dry completely before removing the clamps.
Finishing Touches
After the glue has dried and the clamps are removed, inspect the joint for any excess glue squeeze-out or uneven surfaces. Use a chisel or sandpaper to clean up any glue residue and ensure a smooth finish. If needed, apply a wood finish or paint to the project to protect the wood and enhance its appearance.
Conclusion
Mastering the art of gluing wood properly is essential for creating strong and durable joints in woodworking projects. By selecting the right glue, preparing the wood surfaces, applying the glue correctly, clamping the joints securely, and adding finishing touches, you can ensure that your wood joints are not only sturdy but also visually appealing. Remember to practice these techniques and take your time to achieve the best results in your woodworking endeavors.