Wooden Kayak Building: Effortless Guide for Crafting Your Own Masterpiece
Crafting your own wooden kayak is a labor of love, blending creativity with the joy of watersports. Dive into the journey of wooden kayak building and create a one-of-a-kind masterpiece that sails with your personal touch.
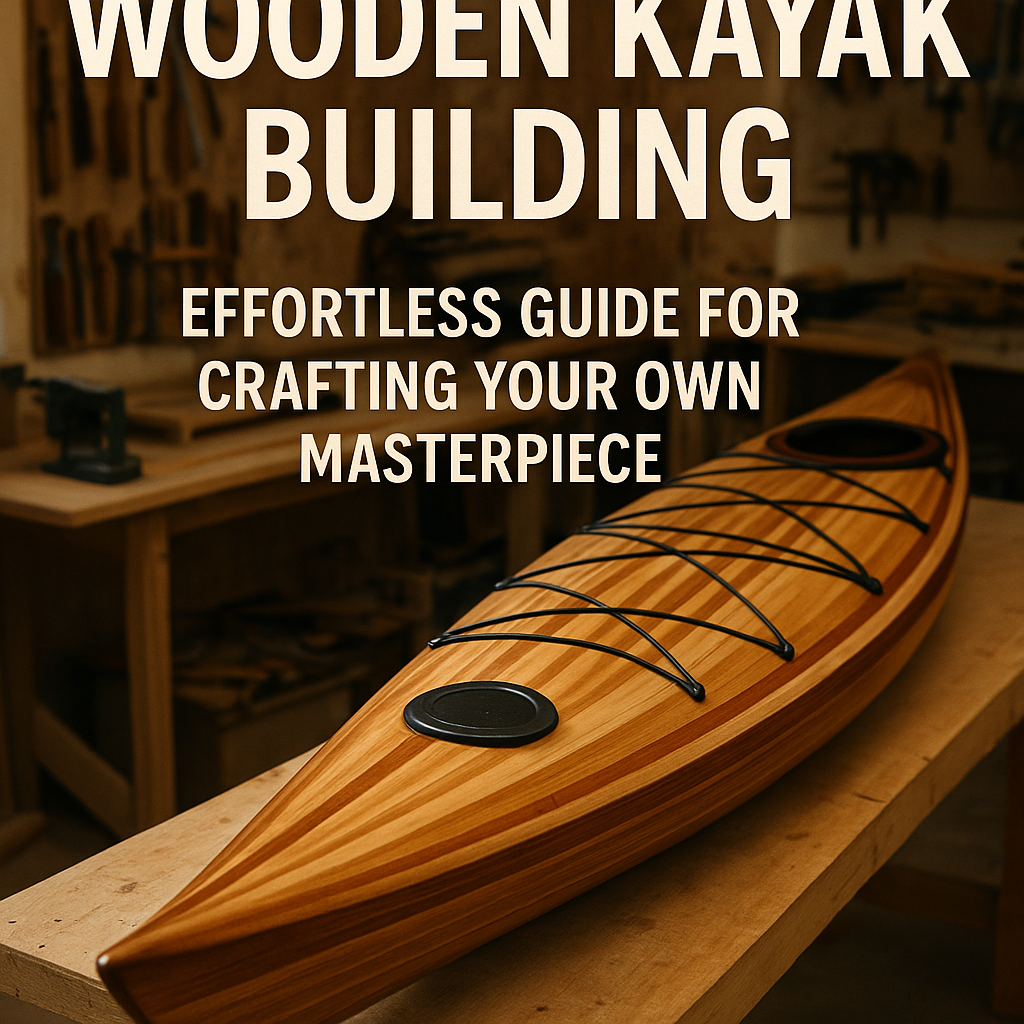
Building a wooden kayak from scratch is a rewarding and fulfilling endeavor that combines craftsmanship, ingenuity, and a love for water activities. Whether you’re an experienced woodworker or a novice looking for a new challenge, constructing your own kayak allows you to create a personalized watercraft tailored to your preferences and needs. In this guide, we will take you through the step-by-step process of building a wooden kayak, from selecting the right materials to putting the finishing touches on your masterpiece.
Selecting the Right Materials
Before diving into the construction process, it’s essential to gather all the necessary materials and tools. For building a wooden kayak, you will need marine-grade plywood, epoxy resin, fiberglass cloth, wood glue, clamps, sandpaper, a saw, and measuring tools. Ensure that the plywood you choose is suitable for marine applications to guarantee durability and water-resistance.
Creating the Kayak Frame
The first step in building a wooden kayak is to create the frame of the boat. Begin by cutting the plywood into the required panels for the hull, deck, and bulkheads. Use a kayak blueprint or design plan as a reference to ensure accurate measurements and dimensions. Assemble the panels together using wood glue and clamps, creating a sturdy and watertight structure.
Stitch-and-Glue Technique
One popular method for building wooden kayaks is the stitch-and-glue technique. This involves temporarily stitching the plywood panels together with copper wire or zip ties to form the kayak shape. Once the panels are aligned correctly, apply epoxy resin to the seams, reinforcing them with fiberglass cloth for added strength. The epoxy resin serves as a waterproof sealant, ensuring that your kayak is resilient against water damage.
Sanding and Finishing
After the epoxy resin has cured, it’s time to sand the kayak’s exterior to achieve a smooth and polished finish. Start with rough sandpaper to remove any imperfections or protruding edges, then gradually progress to finer grits for a silky surface. Take your time with this step to achieve a professional-looking result. Once you’re satisfied with the smoothness, apply a protective marine varnish or paint to seal the wood and enhance its longevity.
Final Assembly and Launch
Finish off the construction process by installing the kayak’s deck fittings, such as hatches, handles, and bungee cords for storage. Check that all components are securely attached and properly sealed to prevent water infiltration. When everything is in place, it’s time to launch your handmade wooden kayak into the water. Take it for a test paddle to ensure that it performs well and meets your expectations.
Conclusion
Building a wooden kayak from scratch is a challenging yet immensely gratifying project that allows you to unleash your creativity and craftsmanship. By following the steps outlined in this guide and investing time and effort into the construction process, you can create a bespoke watercraft that reflects your passion for adventure and DIY endeavors. Embrace the journey of building your own kayak, and let your imagination set sail on the waters in a vessel crafted with your own hands.