Wooden Console Table: Effortless DIY Guide for Crafting a Stunning Piece
Bring warmth and character to your space with a stunning wooden console table you craft yourself! In this guide, well show you how to design and build a custom wooden console table that perfectly suits your style and needs. Lets get started on this fun and rewarding DIY project!
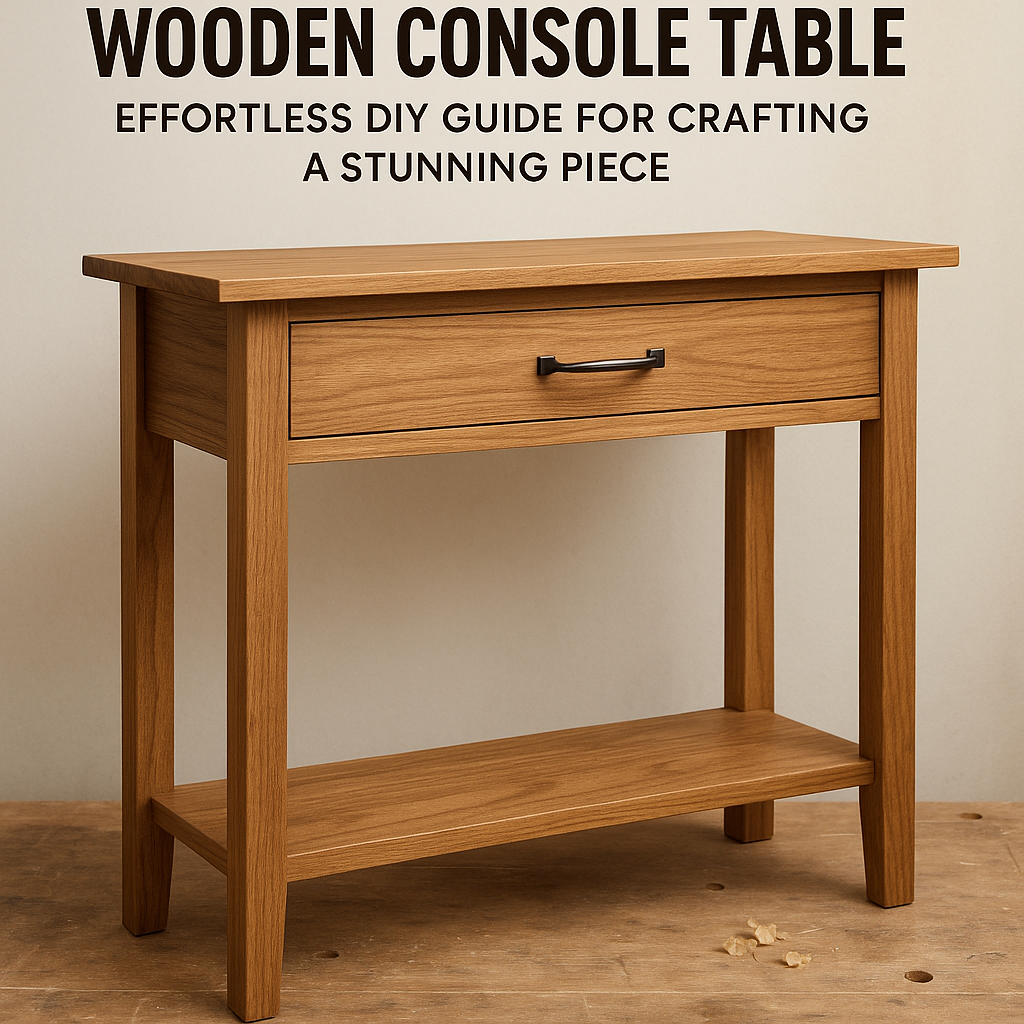
Wooden console tables are a timeless and versatile piece of furniture that can add warmth and character to any space. Building your own wooden console table can be a rewarding project that allows you to customize the design to suit your style and needs. In this guide, we will walk you through the steps to create your own wooden console table from scratch.
Planning Your Wooden Console Table Design
Before you start building your wooden console table, it’s essential to have a clear idea of the design you want to achieve. Consider the dimensions of the table, the type of wood you want to use, and any additional features such as drawers or shelves. Creating a detailed plan will help you stay organized throughout the building process.
Gathering Materials and Tools
Once you have a design plan in place, it’s time to gather all the materials and tools you will need for the project. The materials required typically include wood boards, screws, wood glue, sandpaper, wood stain or paint, and a clear protective finish. Make sure to have the necessary tools such as a saw, drill, hammer, measuring tape, and sanding blocks to facilitate the construction process.
Building the Frame
The first step in building your wooden console table is constructing the frame. Cut the wood boards to the desired dimensions for the top, sides, and legs of the table. Assemble the frame using wood glue and screws, ensuring that the structure is sturdy and well-aligned. Sand the surfaces to smooth out any rough edges and corners.
Adding the Tabletop
Once the frame is complete, it’s time to add the tabletop. Place the tabletop on the frame and secure it with screws from underneath. Make sure the tabletop is level and securely attached to the frame. Sand the tabletop to achieve a smooth and even surface.
Finishing Touches
To enhance the aesthetic appeal and durability of your wooden console table, consider applying a wood stain or paint in a color that complements your existing decor. Allow the stain or paint to dry completely before applying a clear protective finish to seal the wood and protect it from damage.
Customizing Your Wooden Console Table
One of the benefits of building your own wooden console table is the opportunity to customize it to fit your unique style and preferences. You can add decorative elements such as carved details, metal accents, or a distressed finish to give your table a distinct look.
Maintenance and Care
To ensure your wooden console table stays in top condition, regularly dust it with a soft cloth and avoid placing hot or wet items directly on the surface. If the table gets scratched or stained, you can sand it down and reapply a fresh coat of stain or paint to restore its appearance.
Conclusion
Building a wooden console table is a fulfilling DIY project that allows you to create a functional and stylish piece of furniture for your home. By following the steps outlined in this guide and using your creativity, you can craft a wooden console table that complements your decor and reflects your personal taste. Get started on your woodworking journey and enjoy the satisfaction of showcasing your handcrafted masterpiece in your home.