Beginner-Friendly DIY Workbench Plans: Effortless Building Guide
Dive into the world of DIY workbench plans and unleash your inner craftsman! With our effortless building guide, creating your own sturdy workbench is not only achievable but also incredibly rewarding. Get ready to build a workspace thats tailor-made for your projects with our beginner-friendly tips and step-by-step instructions.
Creating a sturdy and functional workbench is a fundamental step for anyone starting their DIY journey. A good workbench serves as the foundation for a variety of projects, providing a stable surface for cutting, assembling, and repairing items. Building your own workbench can be a rewarding and cost-effective project, especially for beginners looking to enhance their workspace. In this guide, we will explore DIY workbench plans tailored for beginners, offering step-by-step instructions and tips to help you build a workbench that meets your specific needs.
Getting Started: Tools and Materials
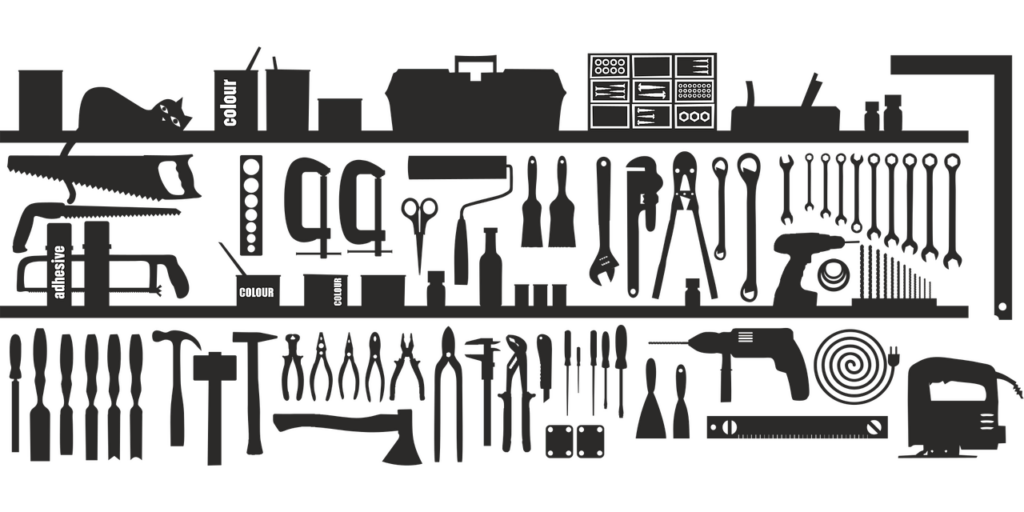
Before diving into the construction process, it’s essential to gather all the necessary tools and materials. For a basic workbench, you will need items such as a circular saw, drill, measuring tape, screws, and wood glue. When selecting materials, opt for sturdy lumber, such as pine or fir, to ensure the durability of your workbench. Additionally, consider the dimensions of your workspace and the intended use of the workbench to determine the size that best suits your needs.
Designing Your Workbench
The first step in building a workbench is designing the layout. Begin by determining the dimensions of the workbench based on the available space and your desired functionality. A standard workbench typically ranges in height from 34 to 36 inches, allowing for comfortable working conditions. Consider including shelves or drawers for added storage and organization. Sketch out a blueprint of your workbench design, including measurements and specific features to guide you during the construction process.
Constructing the Frame
Once you have finalized the design, it’s time to start building the frame of your workbench. Cut the lumber according to your blueprint, ensuring precise measurements for a seamless fit. Assemble the frame using screws and wood glue to secure the structure. Reinforce the corners with corner brackets for added stability. Make adjustments as needed to ensure that the frame is level and sturdy before proceeding to the next step.
Adding the Work Surface
With the frame in place, it’s time to add the work surface to your workbench. Cut a piece of plywood to fit the dimensions of the frame and secure it with screws to create a smooth and level surface for your projects. Consider adding a sacrificial top layer of hardboard or MDF to protect the work surface from damage during heavy-duty projects. Sand the edges and surface of the workbench to ensure a smooth finish that is safe for handling materials.
Finishing Touches and Customizations
To personalize your workbench, consider adding additional features such as pegboards, tool holders, or vices to enhance its functionality. Customize the workbench to meet your specific needs and workflow preferences. Apply a coat of sealant or paint to protect the wood from moisture and wear, extending the longevity of your workbench. Keep your workbench organized and clutter-free to create a conducive workspace for your DIY projects.
Conclusion
In conclusion, building your own workbench is a rewarding project that can enhance your DIY capabilities and workspace efficiency. By following these beginner-friendly DIY workbench plans, you can create a functional and durable workbench that supports your creative endeavors. Whether you are a seasoned DIY enthusiast or new to woodworking, designing and constructing a workbench tailored to your needs is a valuable investment that will serve you well in your future projects. So roll up your sleeves, grab your tools, and embark on the journey of building your own custom workbench today!