Wooden Floating Shelf: Must-Have Tips for Effortless DIY Shelf Building
Enhance your living space with a modern touch by building your own stylish and sturdy wooden floating shelf. Dive into this rewarding DIY project and create a minimalist look that complements various decor styles effortlessly.
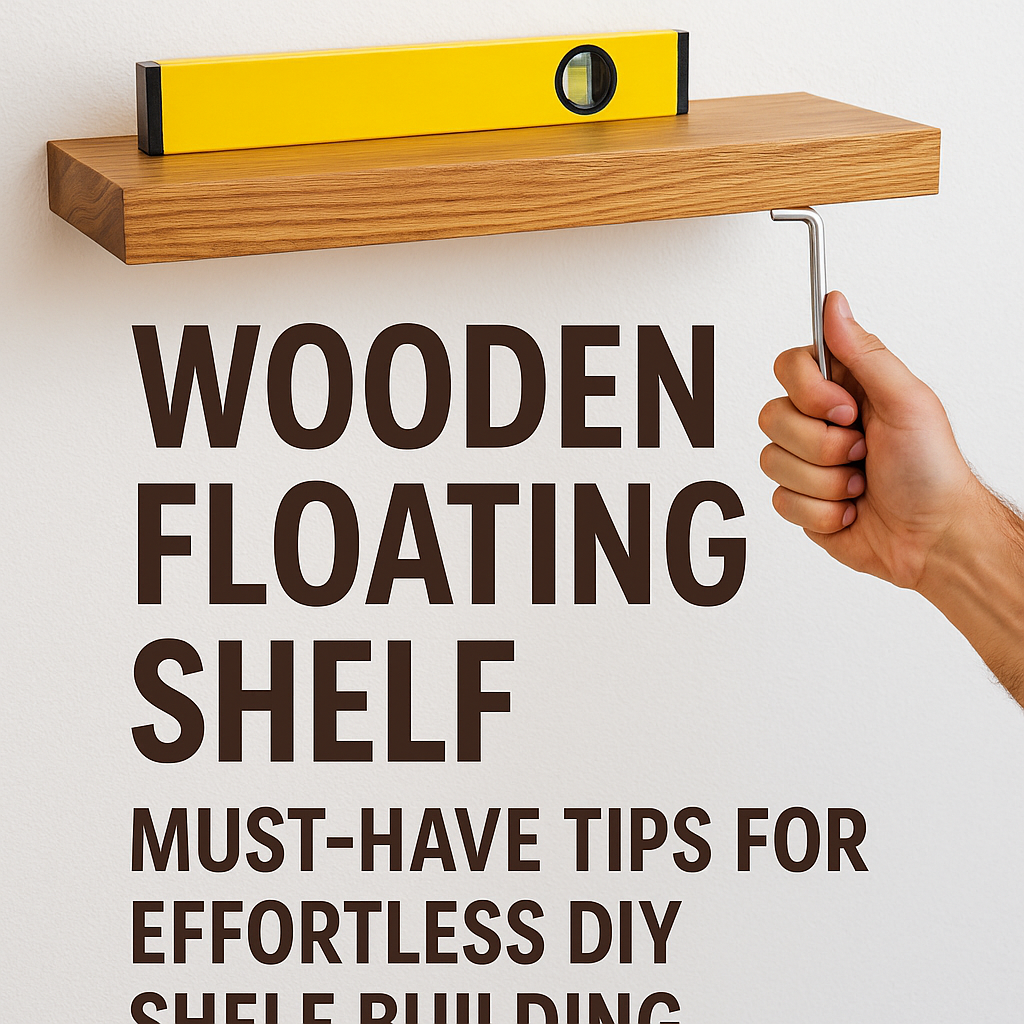
Wooden floating shelves are a popular and versatile way to add storage and display space to your home. These modern and chic shelves appear to “float” on the wall, creating a minimalist look that complements various decor styles. If you’re looking to enhance the aesthetic appeal of your living space while also increasing functionality, building your own wooden floating shelf can be a rewarding DIY project. In this guide, we’ll walk you through the steps required to create a stylish and sturdy wooden floating shelf that will become a focal point in any room.
Materials and Tools Needed
Before diving into the construction process, gather the necessary materials and tools. You will need a high-quality piece of wood cut to the desired length and width for the shelf, wood screws, a drill, a level, a stud finder, a measuring tape, sandpaper, wood stain or paint for finishing, and a brush for staining or painting.
Choosing the Right Wood
Selecting the appropriate wood for your floating shelf is crucial. Opt for a sturdy and visually appealing wood species like pine, oak, or walnut. Ensure that the wood is straight, smooth, and free of knots or imperfections that could weaken the shelf’s structure.
Measuring and Cutting the Wood
Begin by measuring the dimensions of the shelf you want to create. Use a saw to cut the wood to the desired length and width, ensuring precise and straight cuts. Sand the edges and surfaces of the wood to remove roughness and achieve a smooth finish.
Assembling the Shelf
To create the floating effect, you will need to attach a support bracket to the wall that will hold the shelf in place. Locate the wall studs using a stud finder and mark their positions. Drill pilot holes into the wall at the stud locations and secure the support bracket using wood screws. Place the shelf on top of the bracket, ensuring it is level, and attach it securely to the bracket using screws from underneath.
Finishing Touches
Once the shelf is securely mounted, apply the desired finish to the wood. You can choose to stain it for a natural look, paint it to match your decor, or leave it unfinished for a rustic touch. Apply the finish evenly using a brush and allow it to dry completely before placing any items on the shelf.
Tips and Considerations
- Always wear safety goggles and gloves when cutting and handling wood.
- Pre-drill holes before screwing to prevent splitting the wood.
- Use a level to ensure that the shelf is straight and even when mounting it on the bracket.
- Experiment with different wood finishes and styles to customize the shelf to your preference.
By following these steps and tips, you can create a beautiful wooden floating shelf that not only serves as a practical storage solution but also adds a touch of elegance and charm to your home decor. Get creative with your wood selection and finish to tailor the shelf to your unique style and create a statement piece that showcases your craftsmanship and creativity. With a little time, effort, and attention to detail, you can enjoy the satisfaction of completing a DIY project that enhances the beauty and functionality of your living space.