Wooden Birdhouse Plans: Effortless DIY Guide
Get ready to embark on a delightful woodworking adventure with these easy-to-follow wooden birdhouse plans. Craft your very own bird haven and elevate your outdoor space with a touch of charm and nature. Attract feathered friends with this effortlessly DIY guide tailored for beginners.
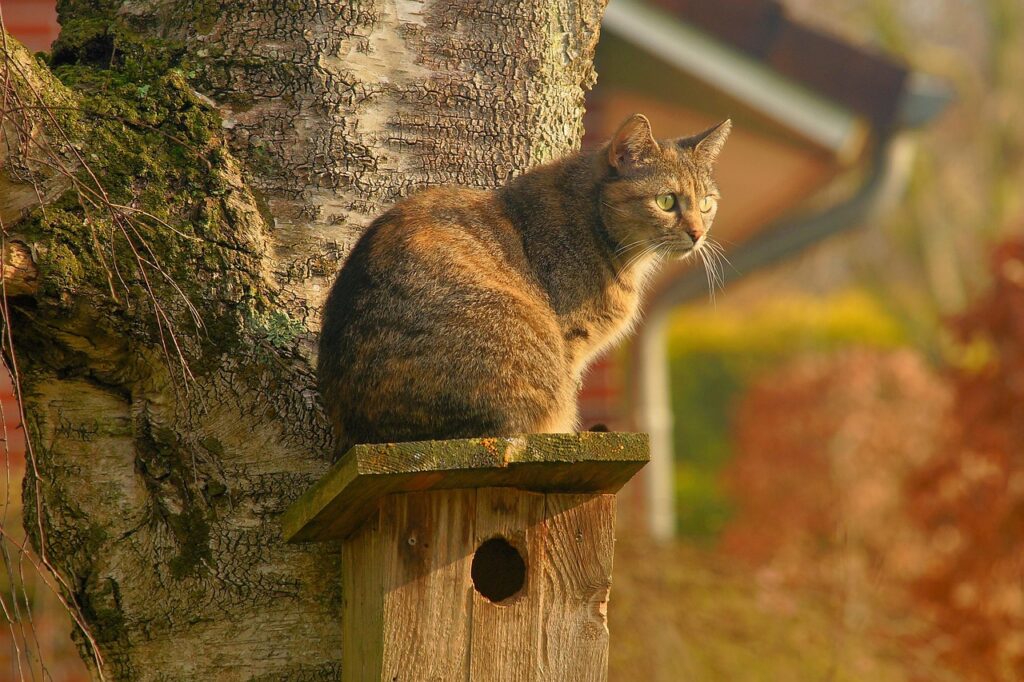
Woodworking can be a rewarding and fulfilling hobby for many people. If you’re a beginner looking to start with a simple project, creating a wooden birdhouse can be a great place to begin. Birdhouses not only provide a safe shelter for birds but can also add a charming touch to your garden or backyard. In this article, we will provide you with easy wooden birdhouse plans tailored for beginners. Follow these step-by-step instructions and create your very own birdhouse to attract feathered friends to your outdoor space.
Getting Started: Materials and Tools Needed
Before diving into the construction process, it’s important to gather the necessary materials and tools. For this easy wooden birdhouse project, you will need the following supplies:
- Wood (such as pine or cedar)
- Screws
- Drill
- Saw
- Sandpaper
- Wood glue
- Hammer
- Paint or wood stain (optional)
Step 1: Design and Measurements
Start by sketching a simple design for your birdhouse on a piece of paper. Consider the size of the entrance hole, the height and width of the interior space, and the overall dimensions of the birdhouse. Once you have a design in mind, measure and mark the wood according to your plan.
Step 2: Cutting the Pieces
Using a saw, carefully cut the wooden pieces according to the measurements you have marked. You will need pieces for the front, back, sides, roof, and floor of the birdhouse. Ensure that the cuts are straight and precise for a professional-looking finish.
Step 3: Assembling the Birdhouse
Assemble the wooden pieces together using wood glue and screws. Start by attaching the sides to the front and back panels to create the basic structure of the birdhouse. Once the walls are in place, add the floor and roof, securing them with screws for added stability.
Step 4: Adding Finishing Touches
Once the birdhouse is assembled, sand the edges to smooth out any rough spots and create a clean finish. You can also paint the birdhouse in your favorite colors or apply a wood stain for a natural look. Let the paint or stain dry completely before installing the birdhouse in your garden.
Step 5: Installing the Birdhouse
Choose a suitable location to hang or mount your birdhouse. Make sure it is at a height that is safe for birds and away from predators. You can attach the birdhouse to a tree, fence, or post using screws or brackets.
Benefits of Building a Birdhouse
Creating a wooden birdhouse not only provides a safe nesting place for birds but also offers several benefits for you as a beginner woodworker. It allows you to practice basic woodworking skills, learn about bird habitats, and enrich your outdoor space with a handmade touch. Plus, watching birds visit and inhabit the birdhouse can be a rewarding experience.
Conclusion
In conclusion, building a wooden birdhouse is a simple and enjoyable woodworking project that is perfect for beginners. By following these easy plans and steps, you can create a beautiful birdhouse to enhance your outdoor space and attract birds to your garden. So, grab your tools, pick up some wood, and get ready to create a welcoming home for our feathered friends.